Using the Secure Research Environment#
🐧 Linux Basics#
If you have never used a Linux computer before, you may find some of the following resources helpful:
Using the Linux desktop
The official guide to Xubuntu (Ubuntu + Xfce).
Ubuntu guide for Windows users.
The official guide to the Xfce desktop environment.
Using the command line
Learn the command-line basics through a game.
Carpentries lesson on The Unix Shell.
How to use the command line article.
Ubuntu guide to the Linux command line for beginners.
Using Git
The Turing Way guide to version control.
Carpentries lesson on Version Control with Git.
Atlassian guide to getting Git right.
📰 Transferring files into or out of the SRE#
Each time a request is made to bring data or software into (“ingress”) or out of (“egress”) the SRE, it needs to be reviewed in case it represents a security risk. These reviews will be coordinated by the designated contact for your SRE. They will have to discuss whether this is an acceptable risk to the data security with the project’s principle investigator and data provider and the decision might be “no”.
Hint
You can make the process as easy as possible by providing as much information as possible about the code or data. For instance, describing in detail what a dataset contains and how it will be use will help speed up decision making.
✂️ Copy and paste#
It is always possible to use copy and paste as normal within an SRE workspace. However, the ability to copy and paste text to or from an SRE workspace depends on the specific configuration of the SRE. The system manager can configure the SRE workspaces to allow copying text from a workspace, pasting text into a workspace, both, or neither. Copy and paste of anything other than text to or from a workspace is not possible.
📚 Maintaining an archive of the project#
SREs are designed to be ephemeral and only deployed for as long as necessary. It is likely that the infrastructure, and data, will be permanently deleted when work has concluded.
The /mnt/output/ directory is designed for storing output to be kept after a project concludes.
You should move such data to the /mnt/output/ directory and contact your designated contact about data egress.
Important
You are responsible for deciding what is worth archiving.
While working on the project:
store all your code in a Gitea repository.
store all resources that might be useful to the rest of the project in the /mnt/shared/ folder.
store anything that might form an output from the project (e.g. images, documents or output datasets) in the /mnt/output/ folder.
See the section on sharing files to find out more about where to store your files.
📦 Pre-installed applications#
The workspace has several pre-installed applications and programming languages to help with your data analysis.
Programming languages / compilers
Cprogramming languageC++programming languageclojureprogramming languageDotNetruntime environmentF#programming languageFortranprogramming languagegcccompilersGuileprogramming languageHaskelllanguage and packaging toolsJavaruntime environmentoctaveprogramming languagePythonprogramming language andpippackage managerplus ability to install additional libraries
Rprogramming languageplus ability to install additional libraries
Racketprogramming languagerubyprogramming languageRustlanguage andcargopackage managerscalaprogramming language
Editors / IDEs
emacseditornanoeditorPyCharmIDERStudioIDEvimeditorVisual Studio CodeIDE
Writing / presentation tools
LaTeX/pdflatex/xelatexfor technical writingLibreOfficefor creating documents and presentations
Database access tools
Beekeeper Studiodesktop database management softwarepsqla command line PostgreSQL clientunixodbc-devdriver for interacting with Microsoft SQL databases
Other useful software
Firefoxbrowsergitversion control toolwekadata mining tools
If you need anything that is not already installed, please discuss this with the designated contact for your SRE.
You can access applications from the desktop using either:
the Terminal app accessible from the dock at the bottom of the screen
via a drop-down menu when you right-click on the desktop or click the button on the top left of the screen
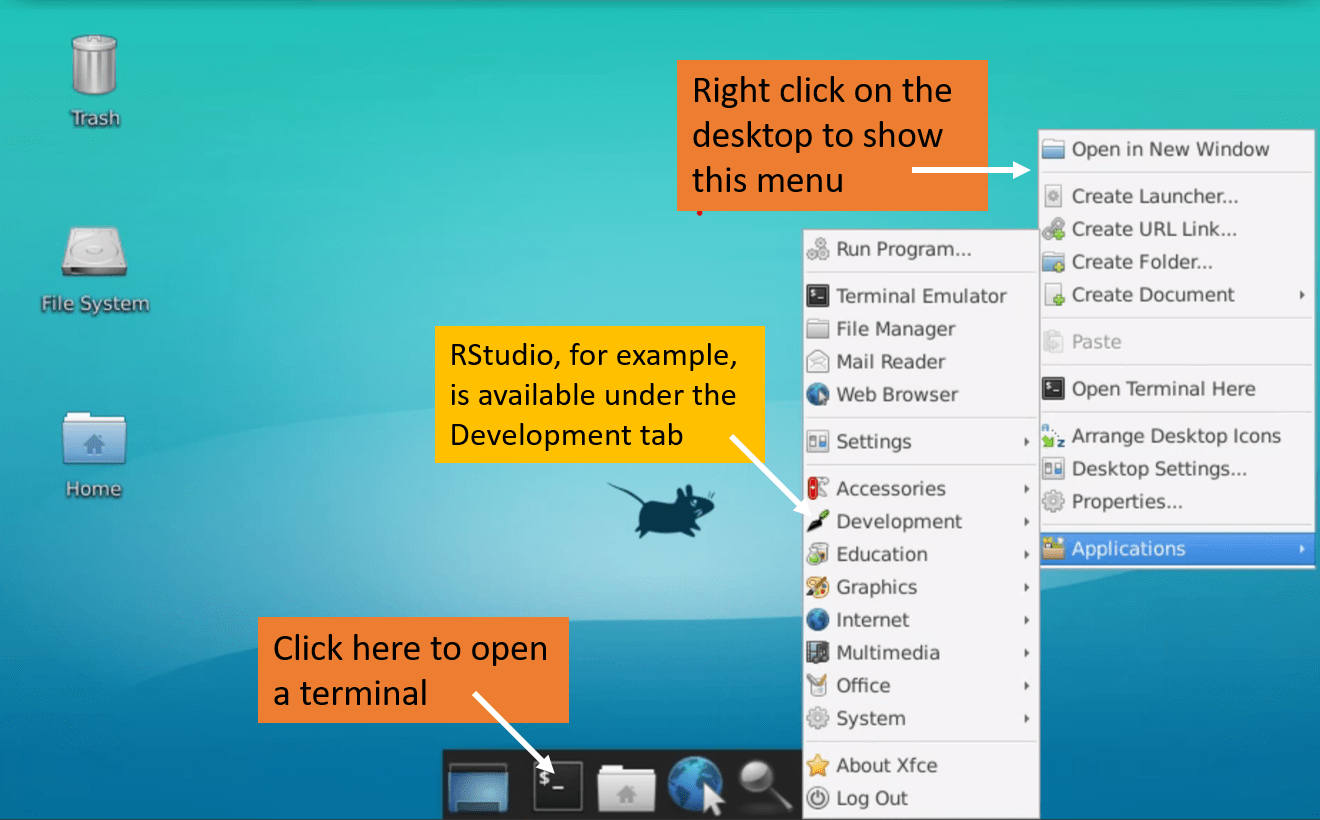
A few specific examples are given below.
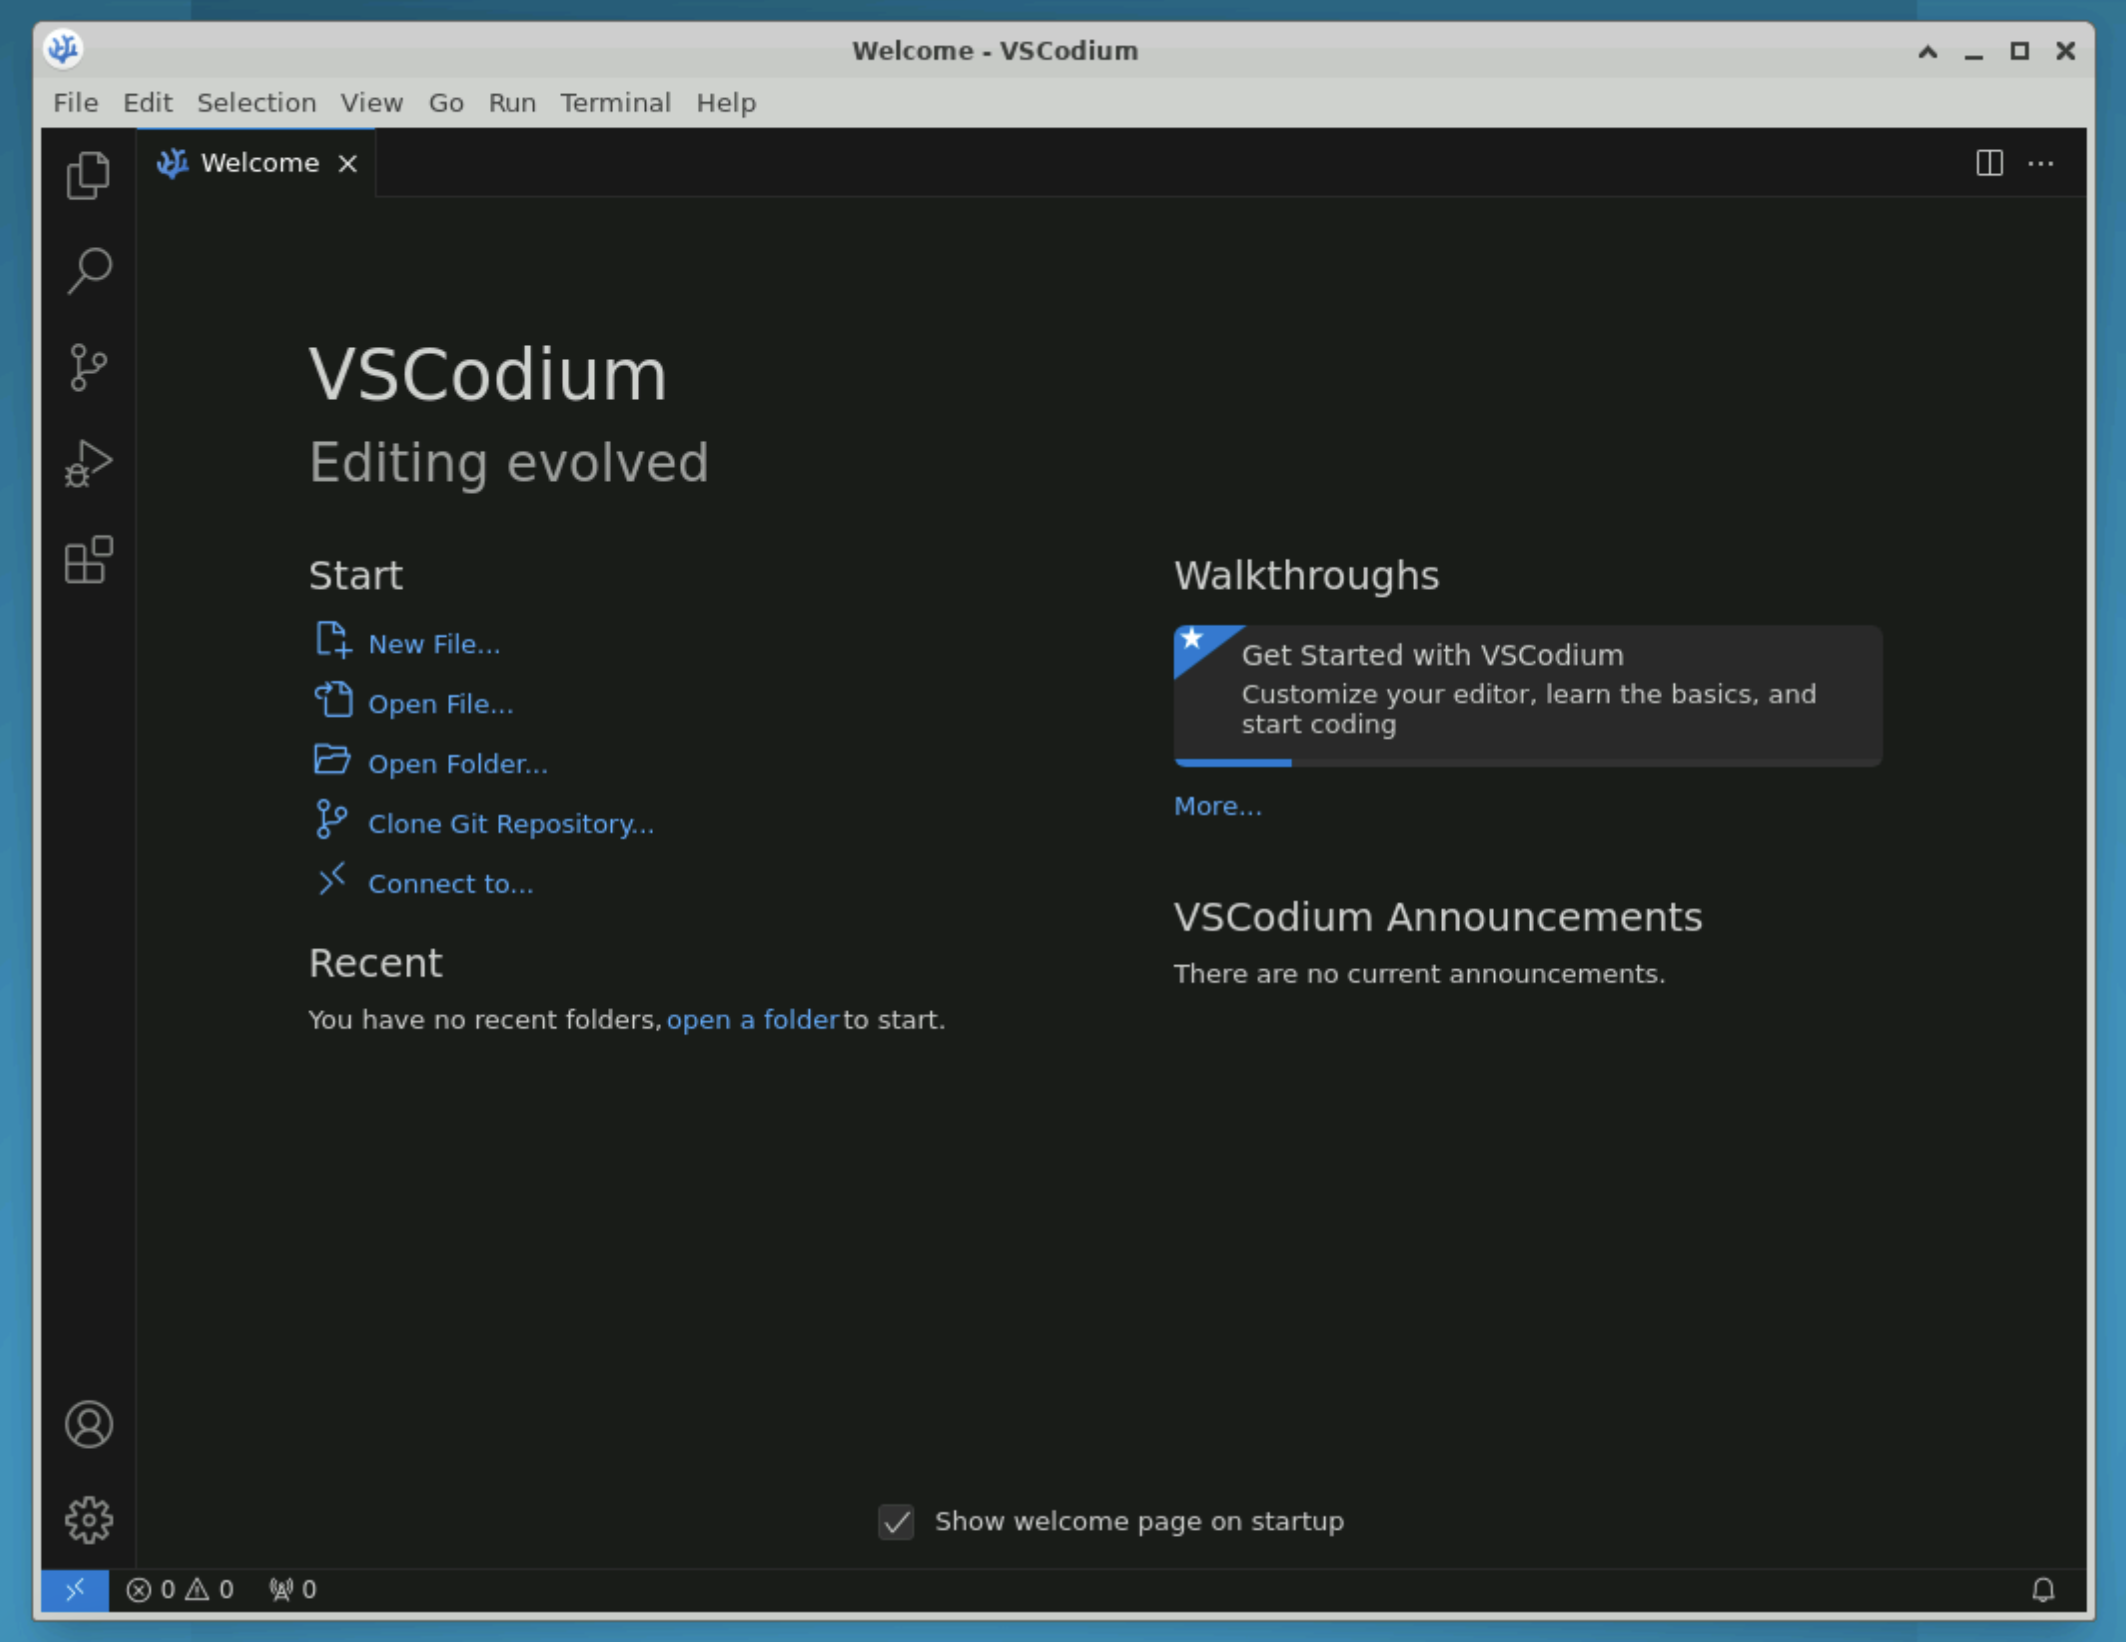
👩💻 VSCodium#
You can start VSCodium from the menu.
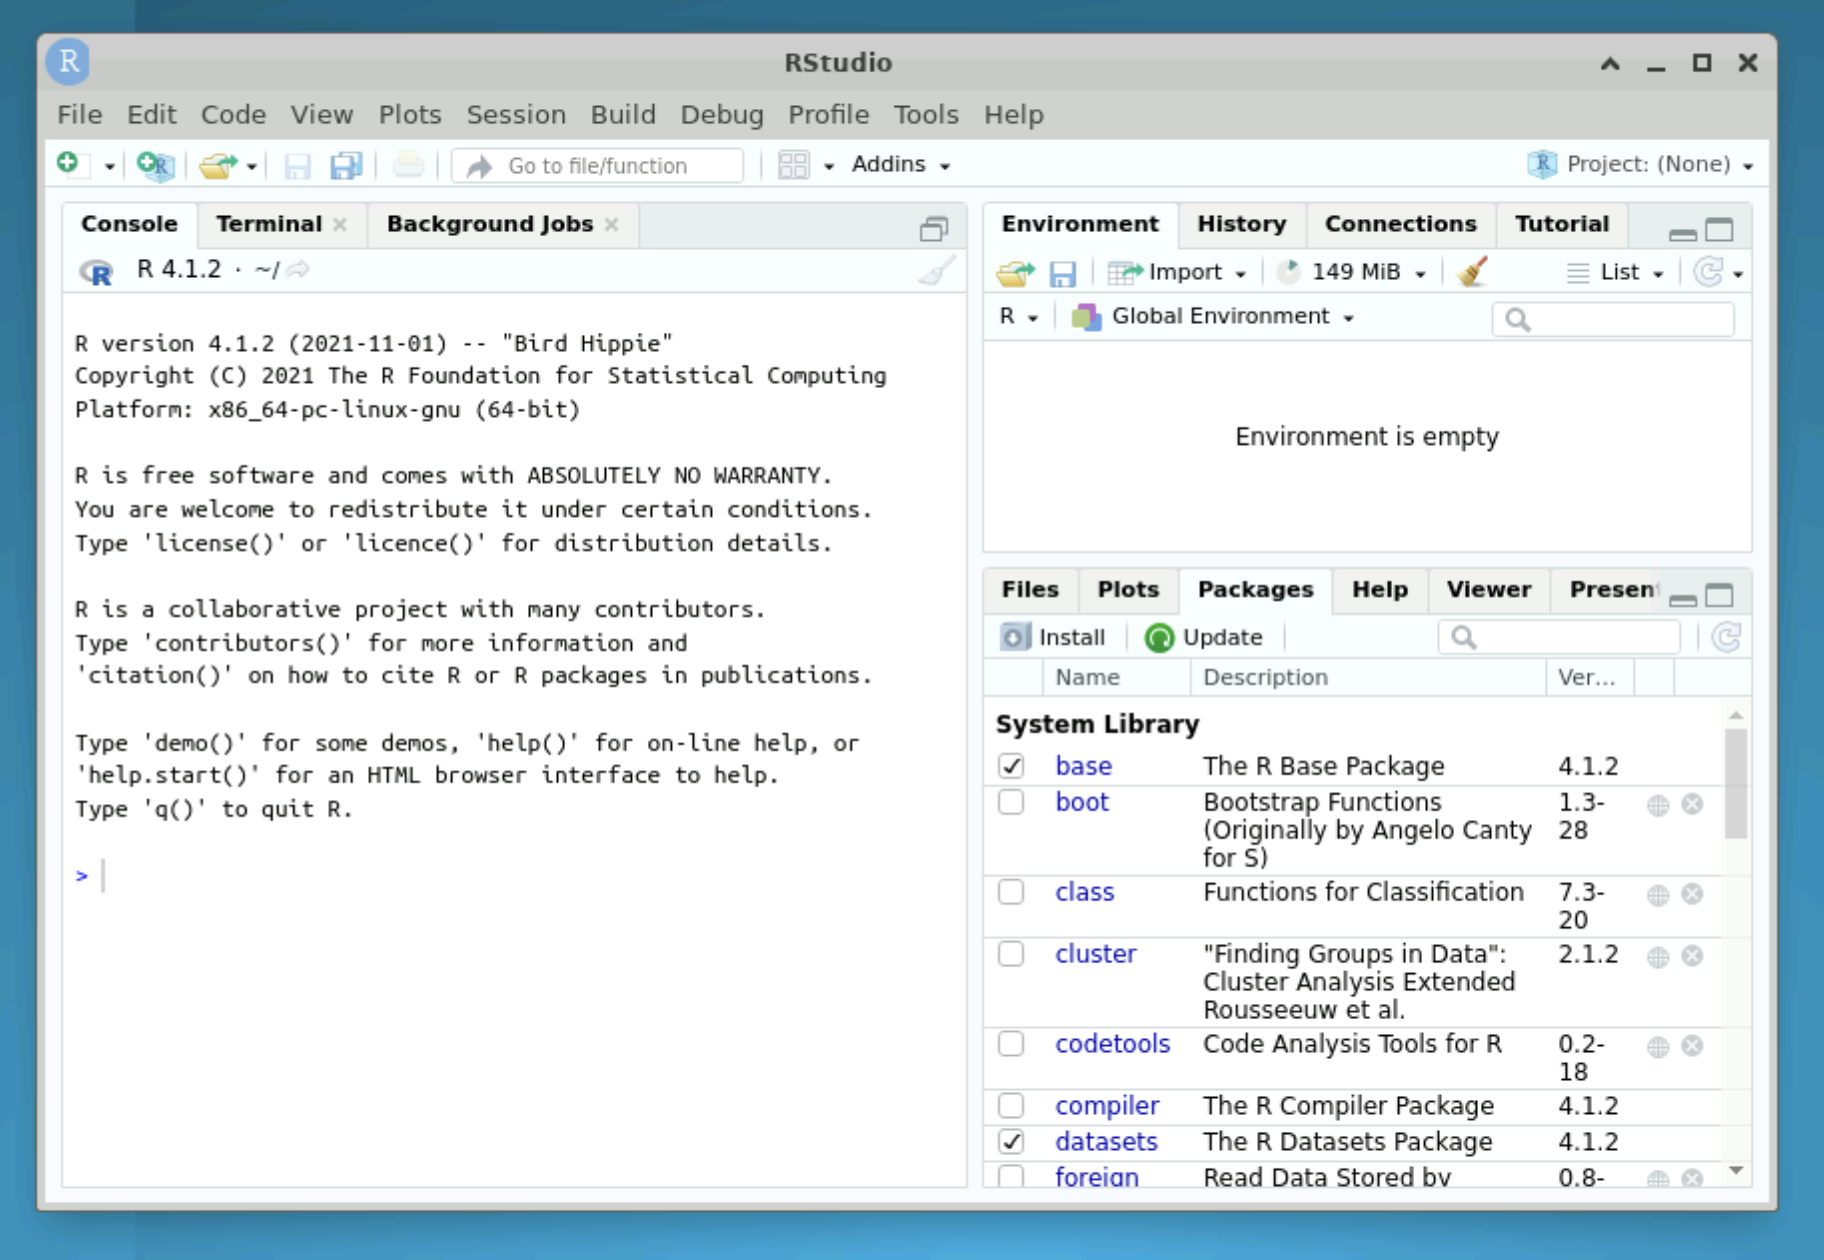
⏫ R and RStudio#
Typing R at the command line will give you a pre-installed version of R.
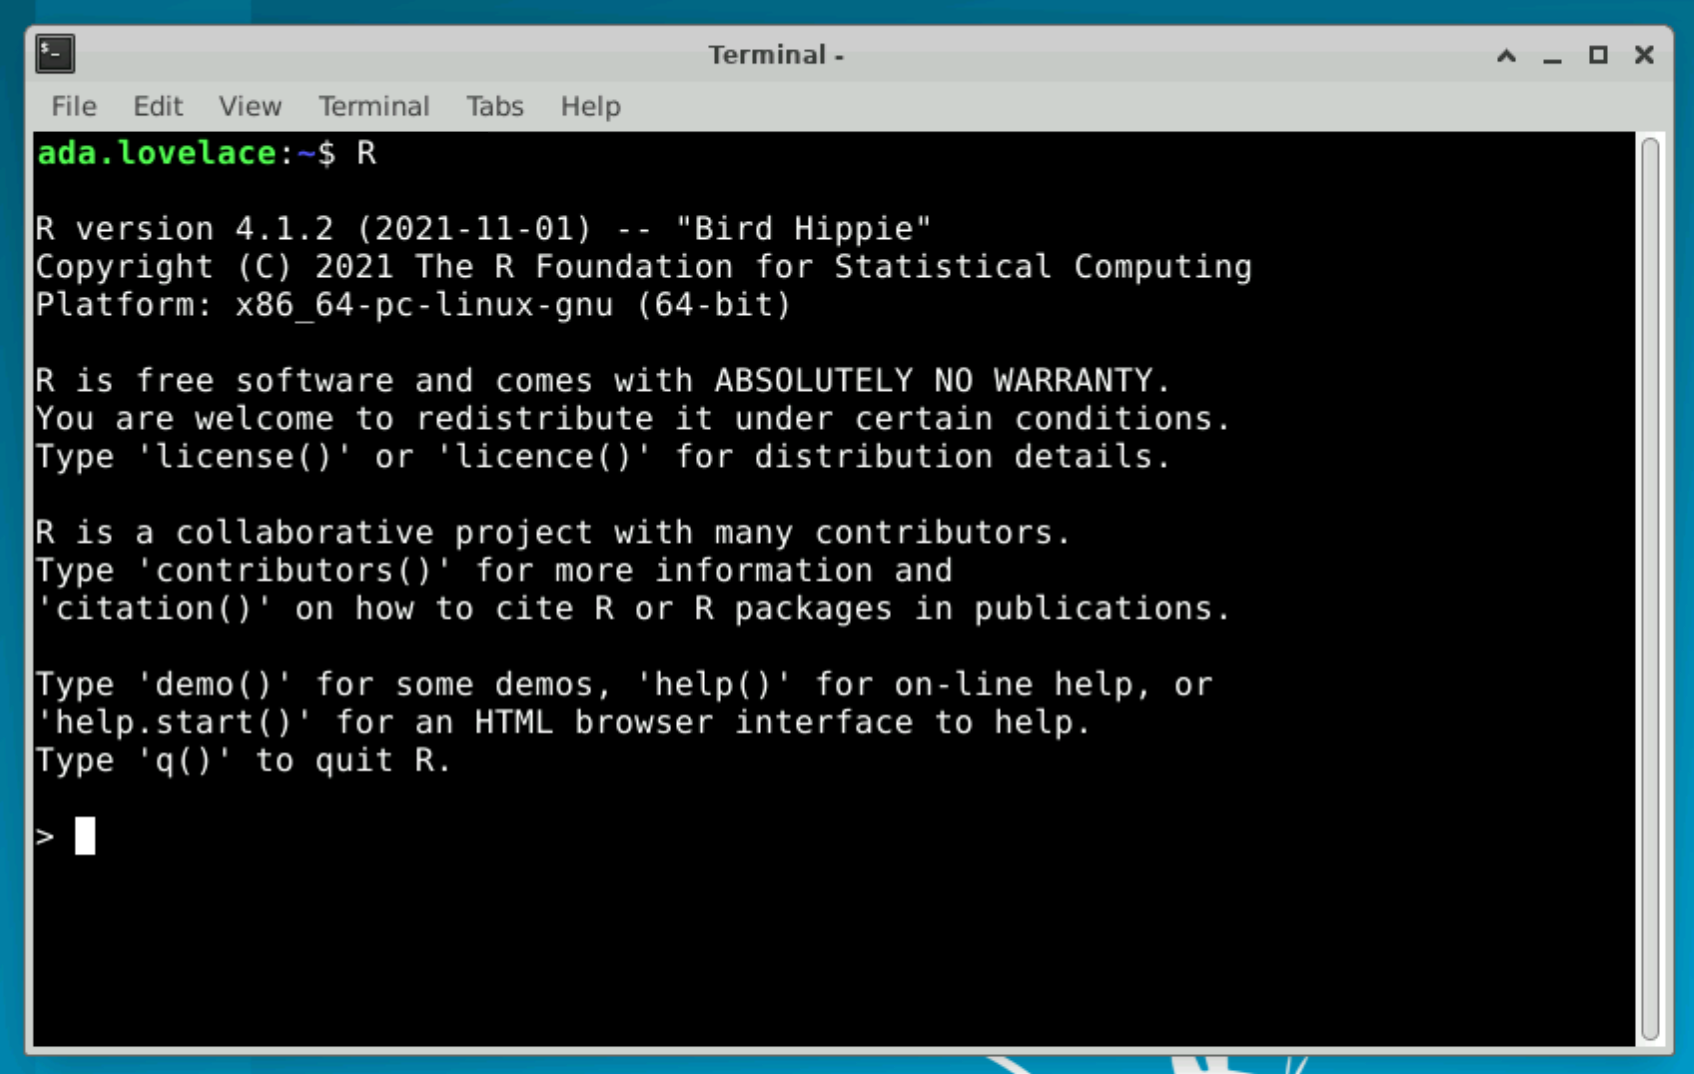
Or you can use RStudio or VSCodium from the menu.
🐍 Python and Pycharm#
Typing python at the command line will give you a pre-installed version of Python.
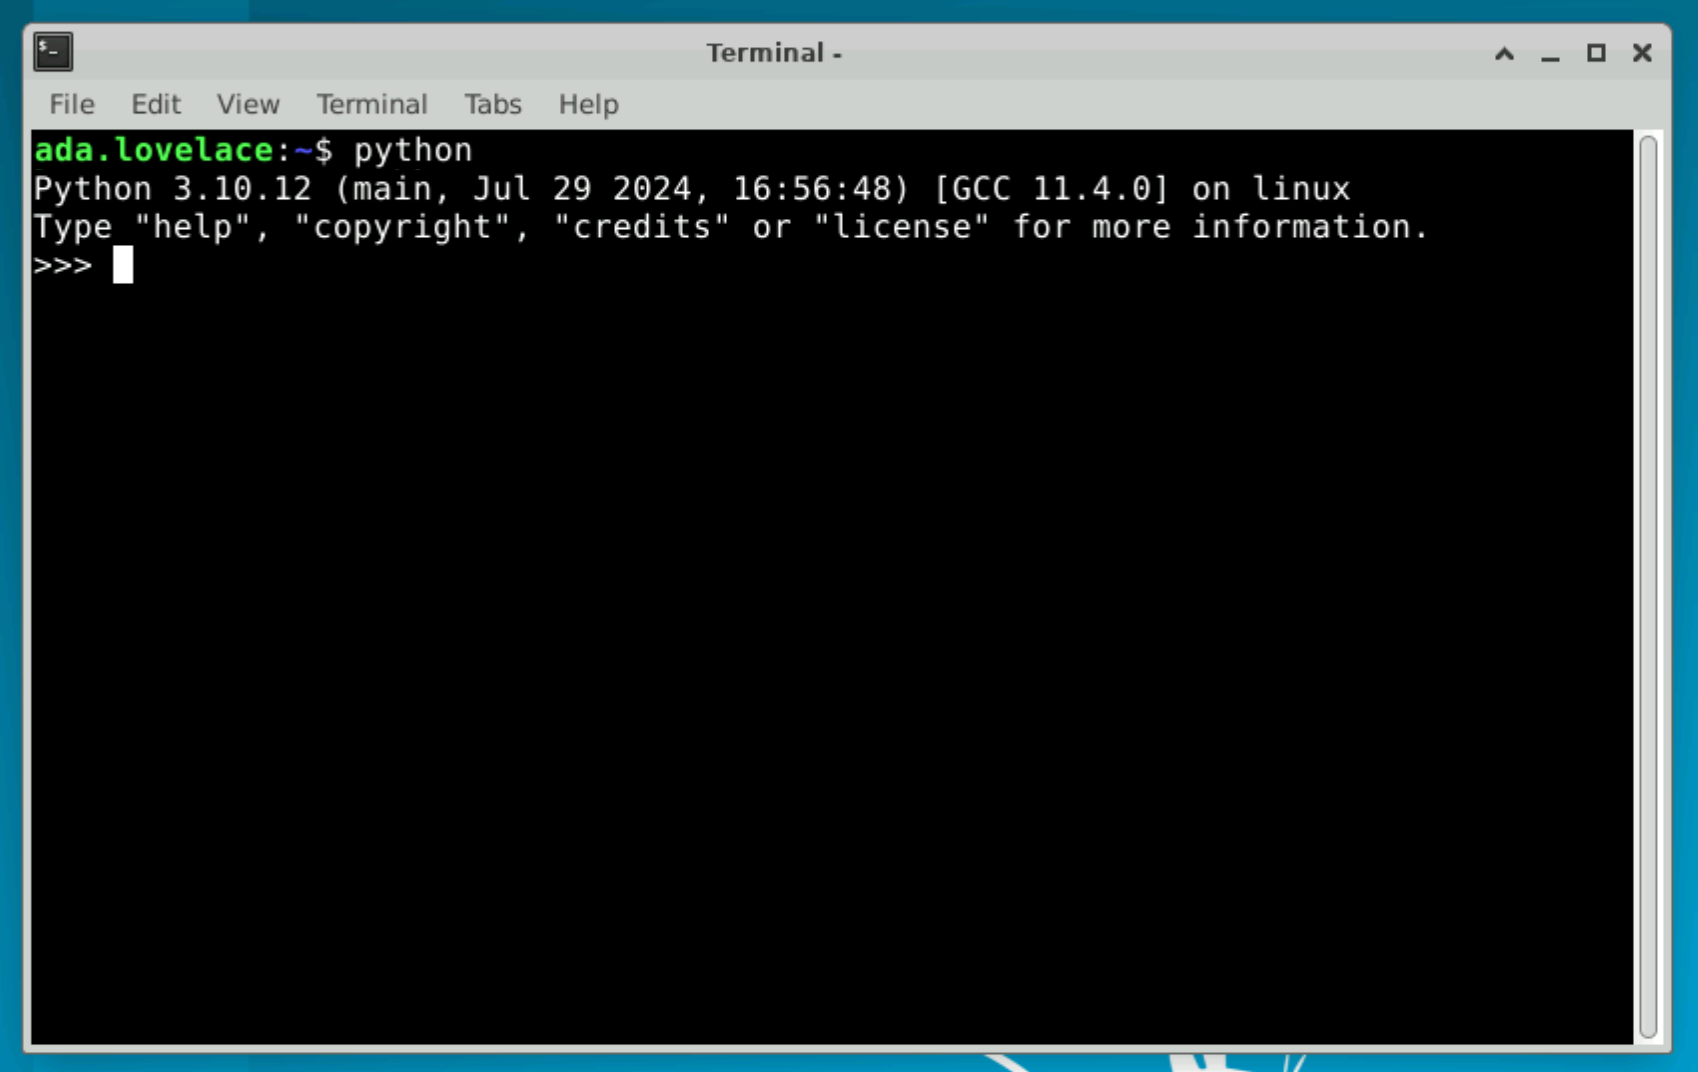
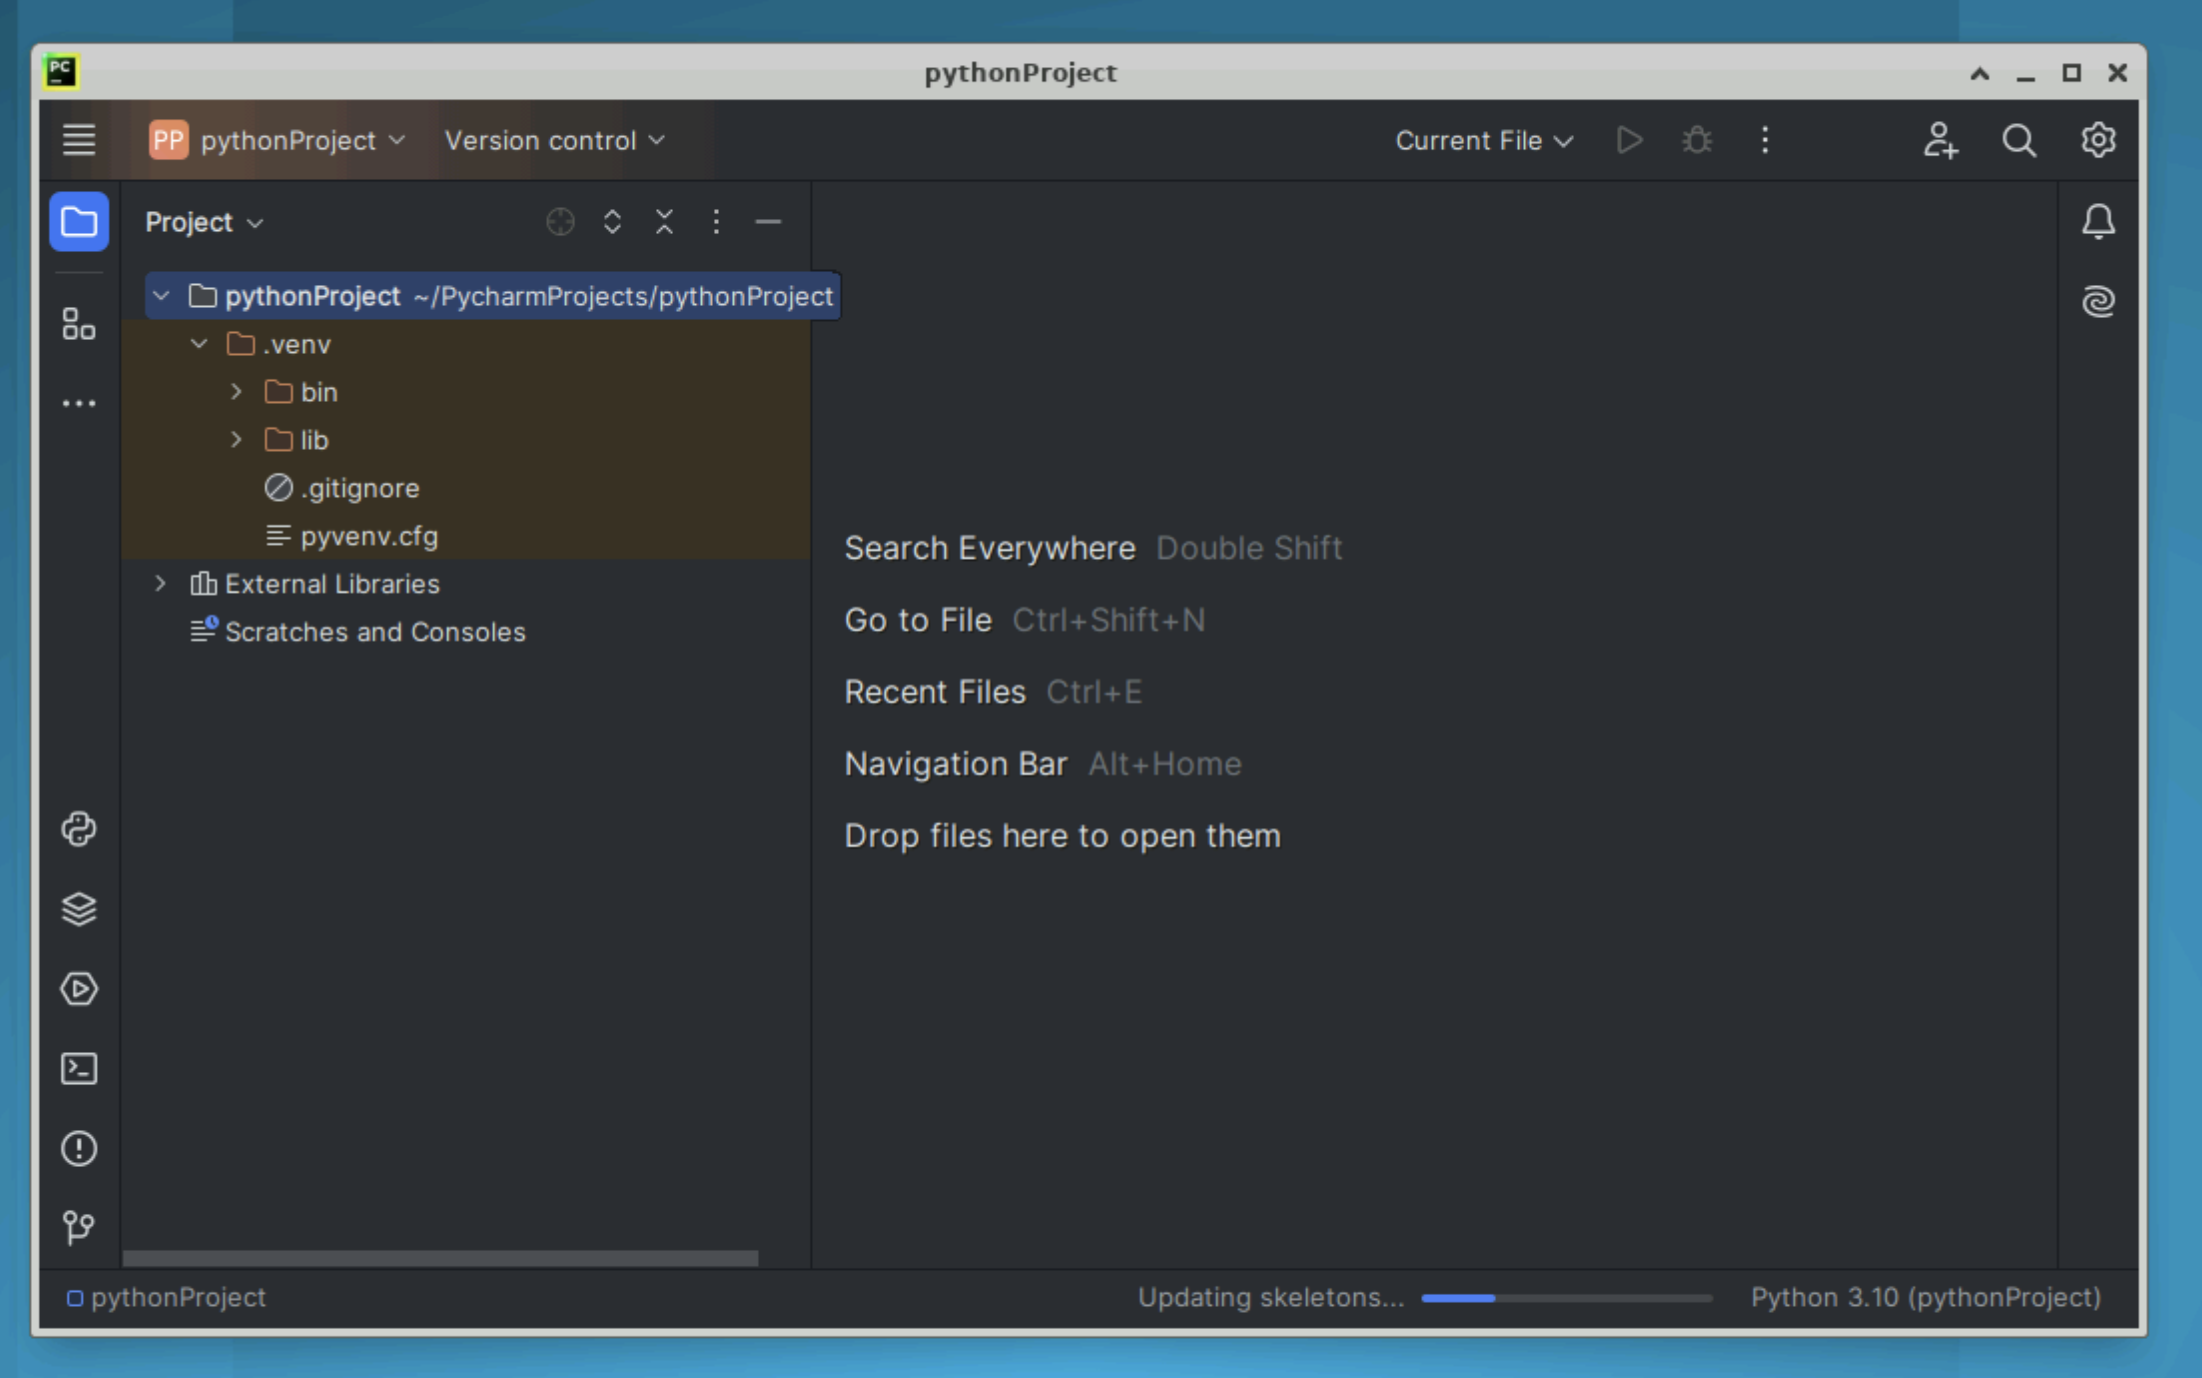
Or you can use Pycharm from the menu.
🎁 Installing software packages#
You have access to packages from the PyPI and CRAN repositories from the SRE.
You can install packages you need from these copies in the usual way, for example pip install (Python) and install.packages (R).
Depending on the sensitivity level of your SRE, you may only have access to a subset of R and Python packages:
Tier 2 (medium security) environments have access to all packages on PyPI and CRAN.
Tier 3 (high security) environments only have pre-authorised packages available.
Tip
If you need to use a package that is not on the allowlist see the section on how to bring software or data into the environment.
Python packages#
Note
You will not have permissions to install packages system-wide. We recommend using a virtual environment.
You can create one:
using VSCodium
using PyCharm
using Python in a terminal
You can install Python packages into your virtual environment from a terminal.
> pip install NAME_OF_PACKAGE
R packages#
Note
You will not have permissions to install packages system-wide. You will need to use a user package directory.
You can install R packages from inside R (or RStudio):
> install.packages(NAME_OF_PACKAGE)
You will see something like the following:
Installing package into '/usr/local/lib/R/site-library'
(as 'lib' is unspecified)
Warning in install.packages("cluster") :
  'lib = "/usr/local/lib/R/site-library"' is not writable
Would you like to use a personal library instead? (yes/No/cancel)
Type yes, which prompts you to confirm the name of the library:
Would you like to create a personal library
'~/R/x86_64-pc-linux-gnu-library/4.1'
to install packages into? (yes/No/cancel)
Type yes to install the packages.
💊 Version control using Gitea#
Gitea[1] is an open-source code hosting platform for version control and collaboration - similar to GitHub. It allows you to use git to version control your work, coordinate tasks using issues and review work using pull requests.
The Gitea server within the SRE can hold code, documentation and results from your team’s analyses. Use the Gitea server to work collaboratively on code with other project team members.
Important
This Gitea server is entirely within the SRE - you do not need to worry about the security of the information you upload there as it is inaccessible from the public internet.
You can access Gitea from an internet browser in the workspace using the desktop shortcut. Use your short-form username and password to login.
Logging in to Gitea
Click the Sign in button on the top-right of the page.

Enter your short-form username and password.

Then click the Sign in button
Create a new repository
Log in to the Gitea dashboard
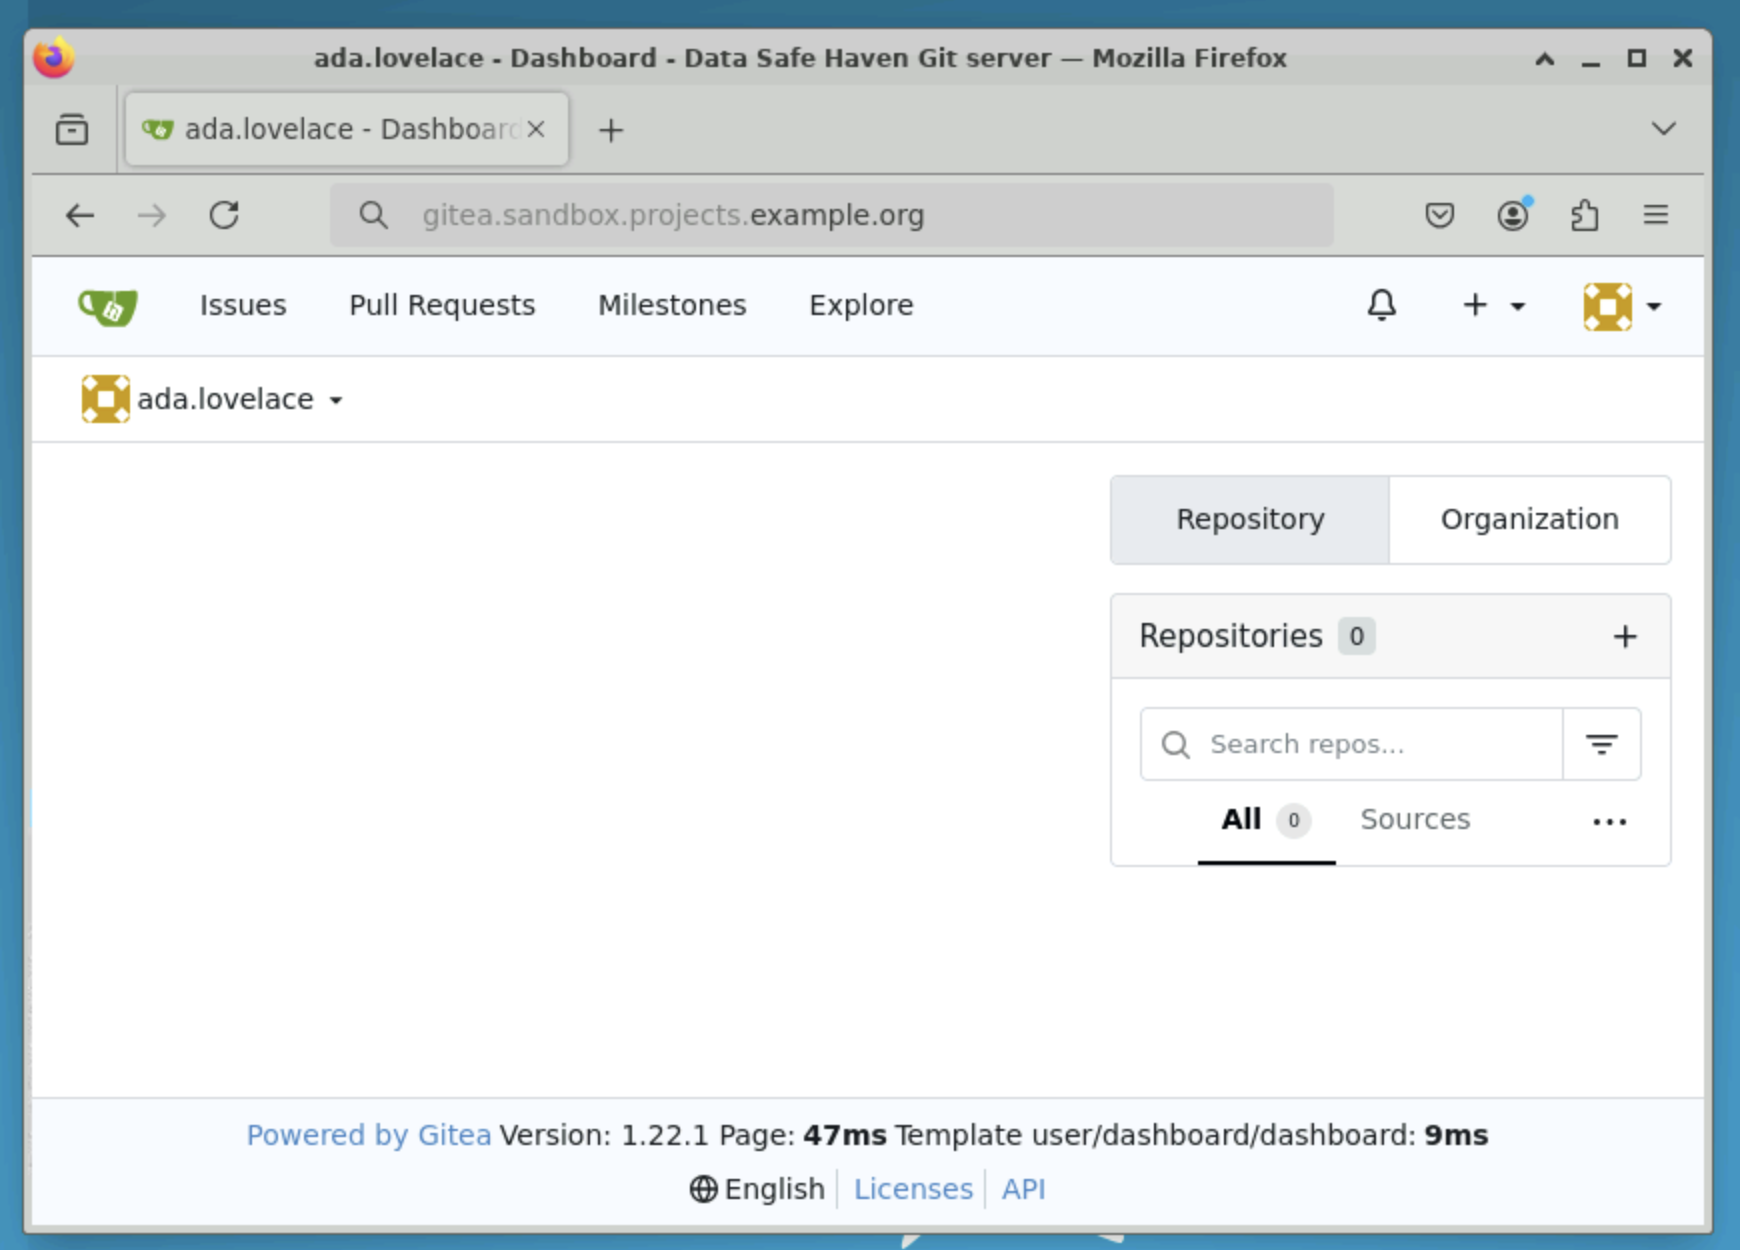
Click on the + button next to the Repositories label.
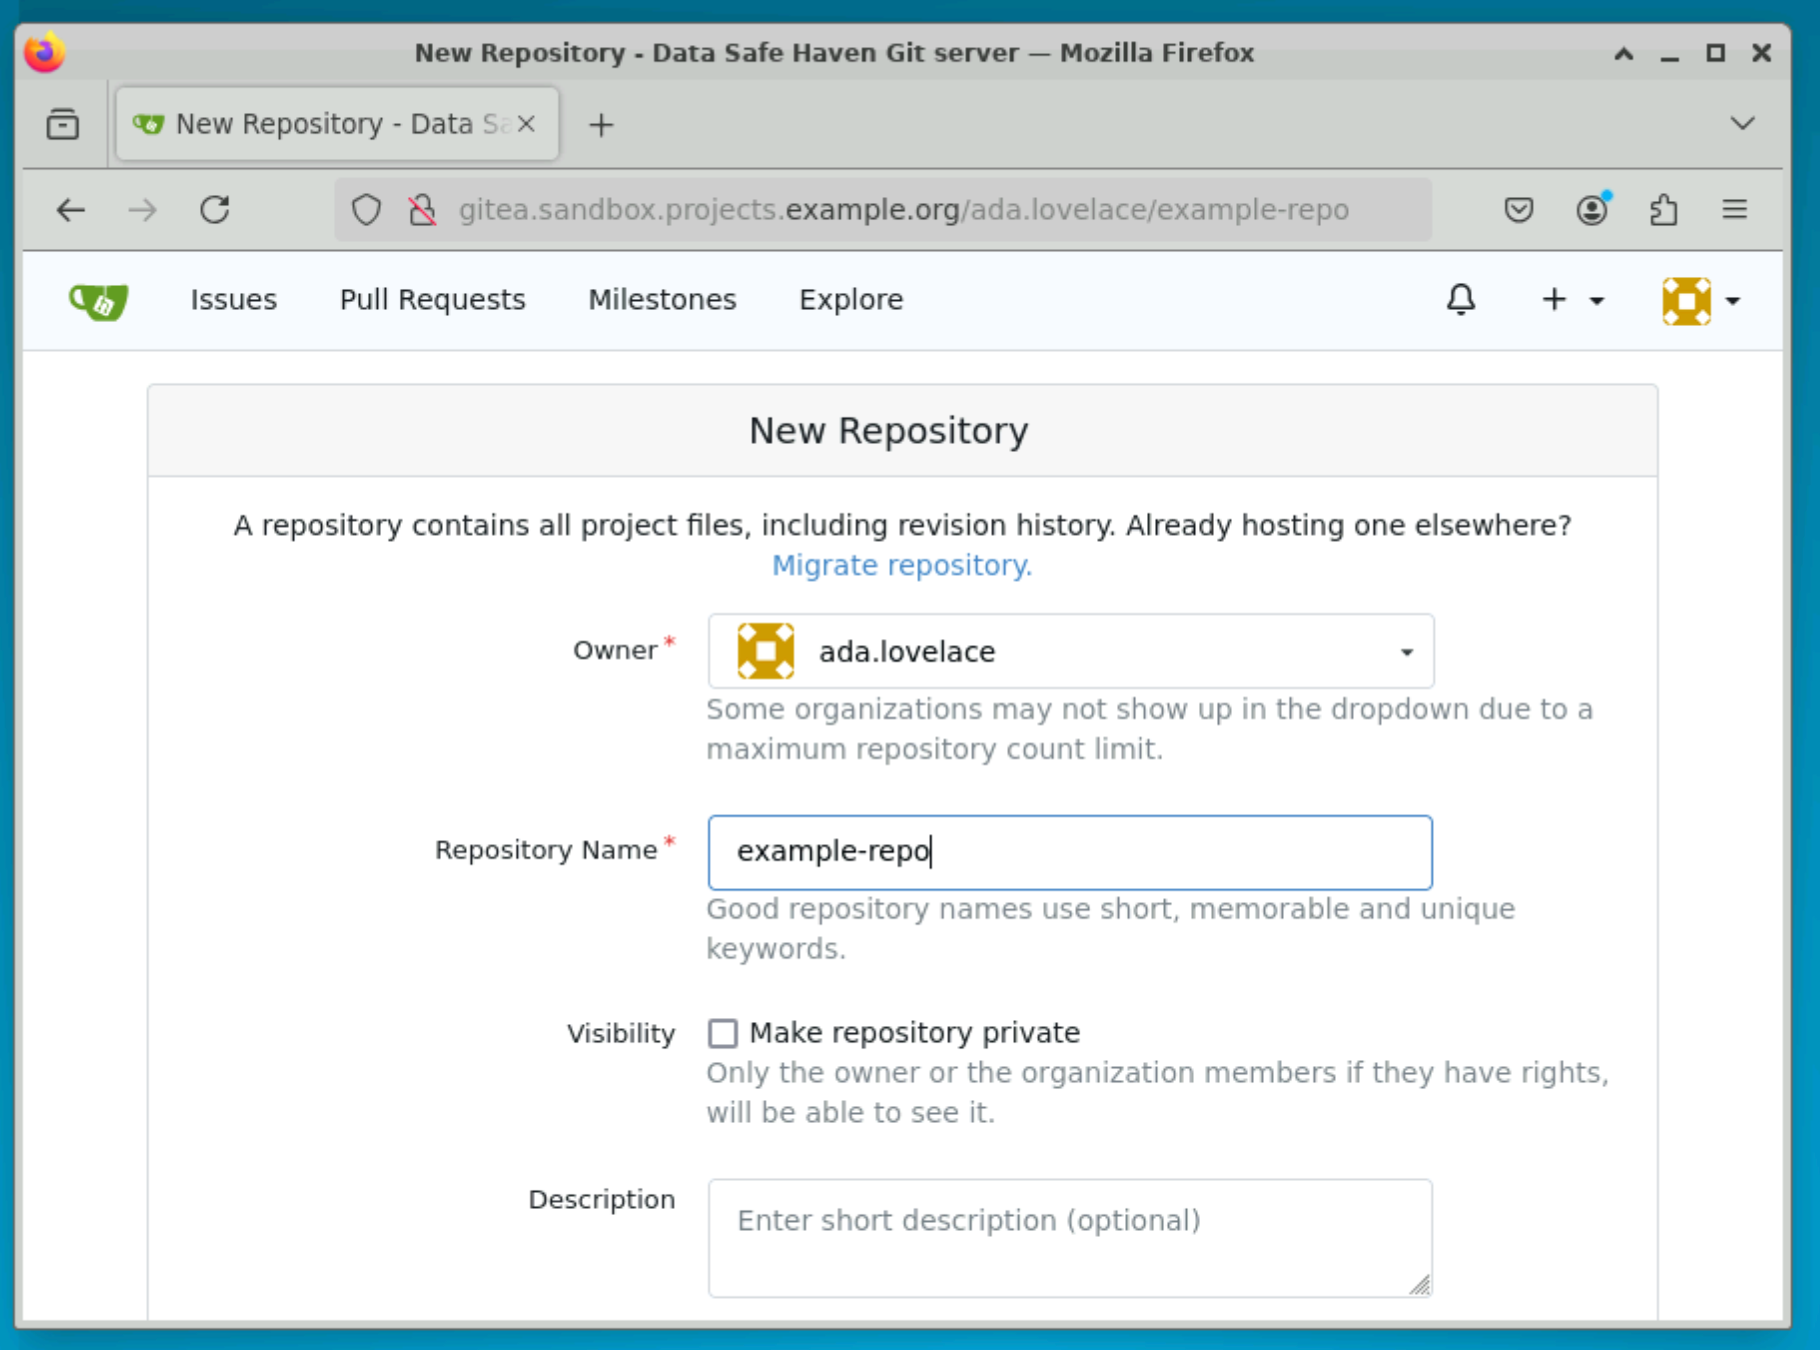
Fill out the required information, with the following guidelines:
leave Make repository private unchecked
leave Initialize repository checked
Tip
When you make a repository inside the SRE “public” it is visible to your collaborators who also have access to the SRE but is still inaccessible to the general public via the internet. We recommend that you make your repositories public to facilitate collaboration within the secure research environment.
Clone an existing repository
Sign into Gitea and click the Explore button in the top bar.
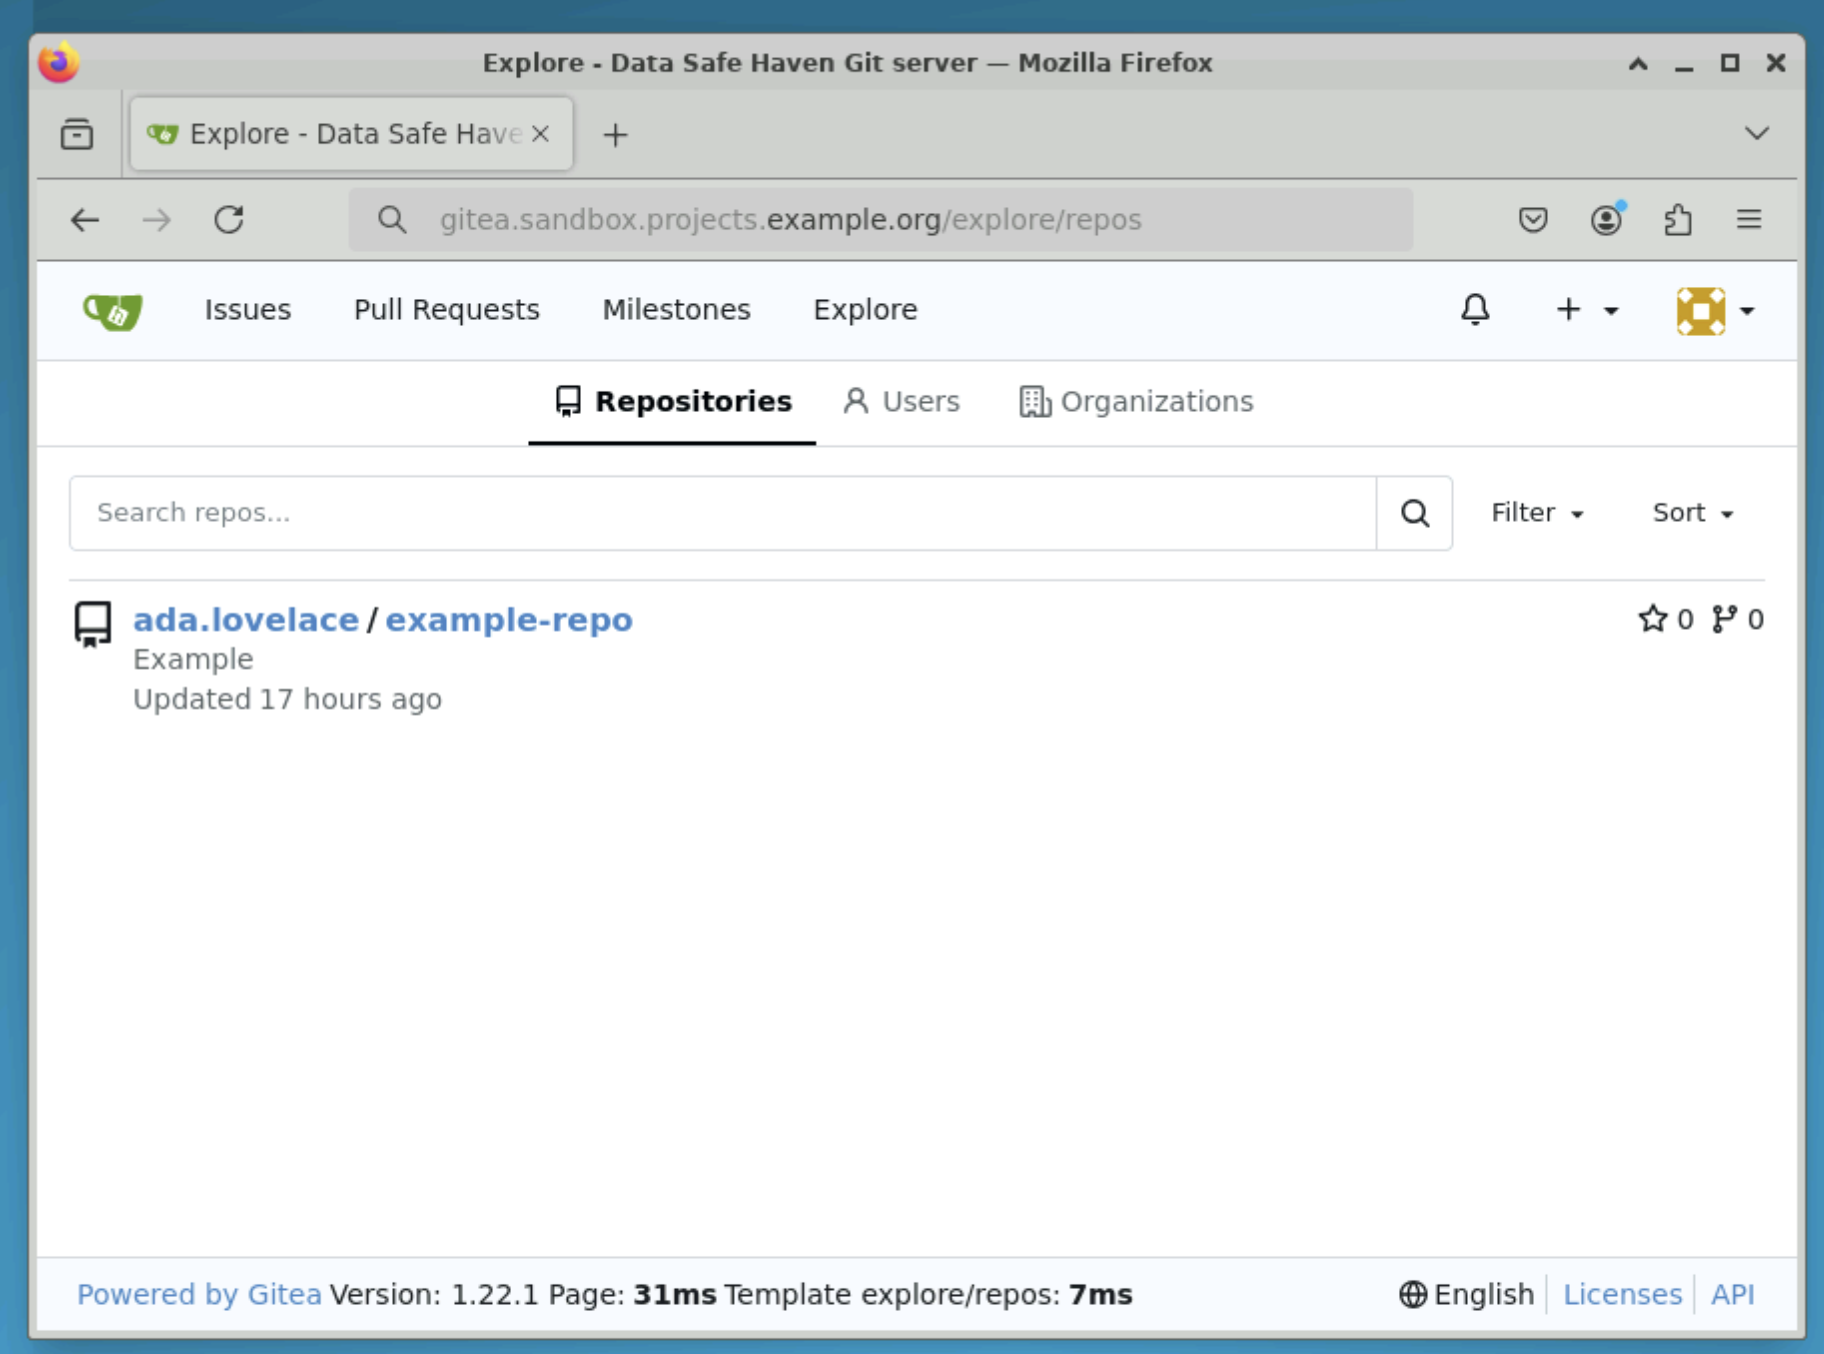
Click on the name of the repository you want to work on.
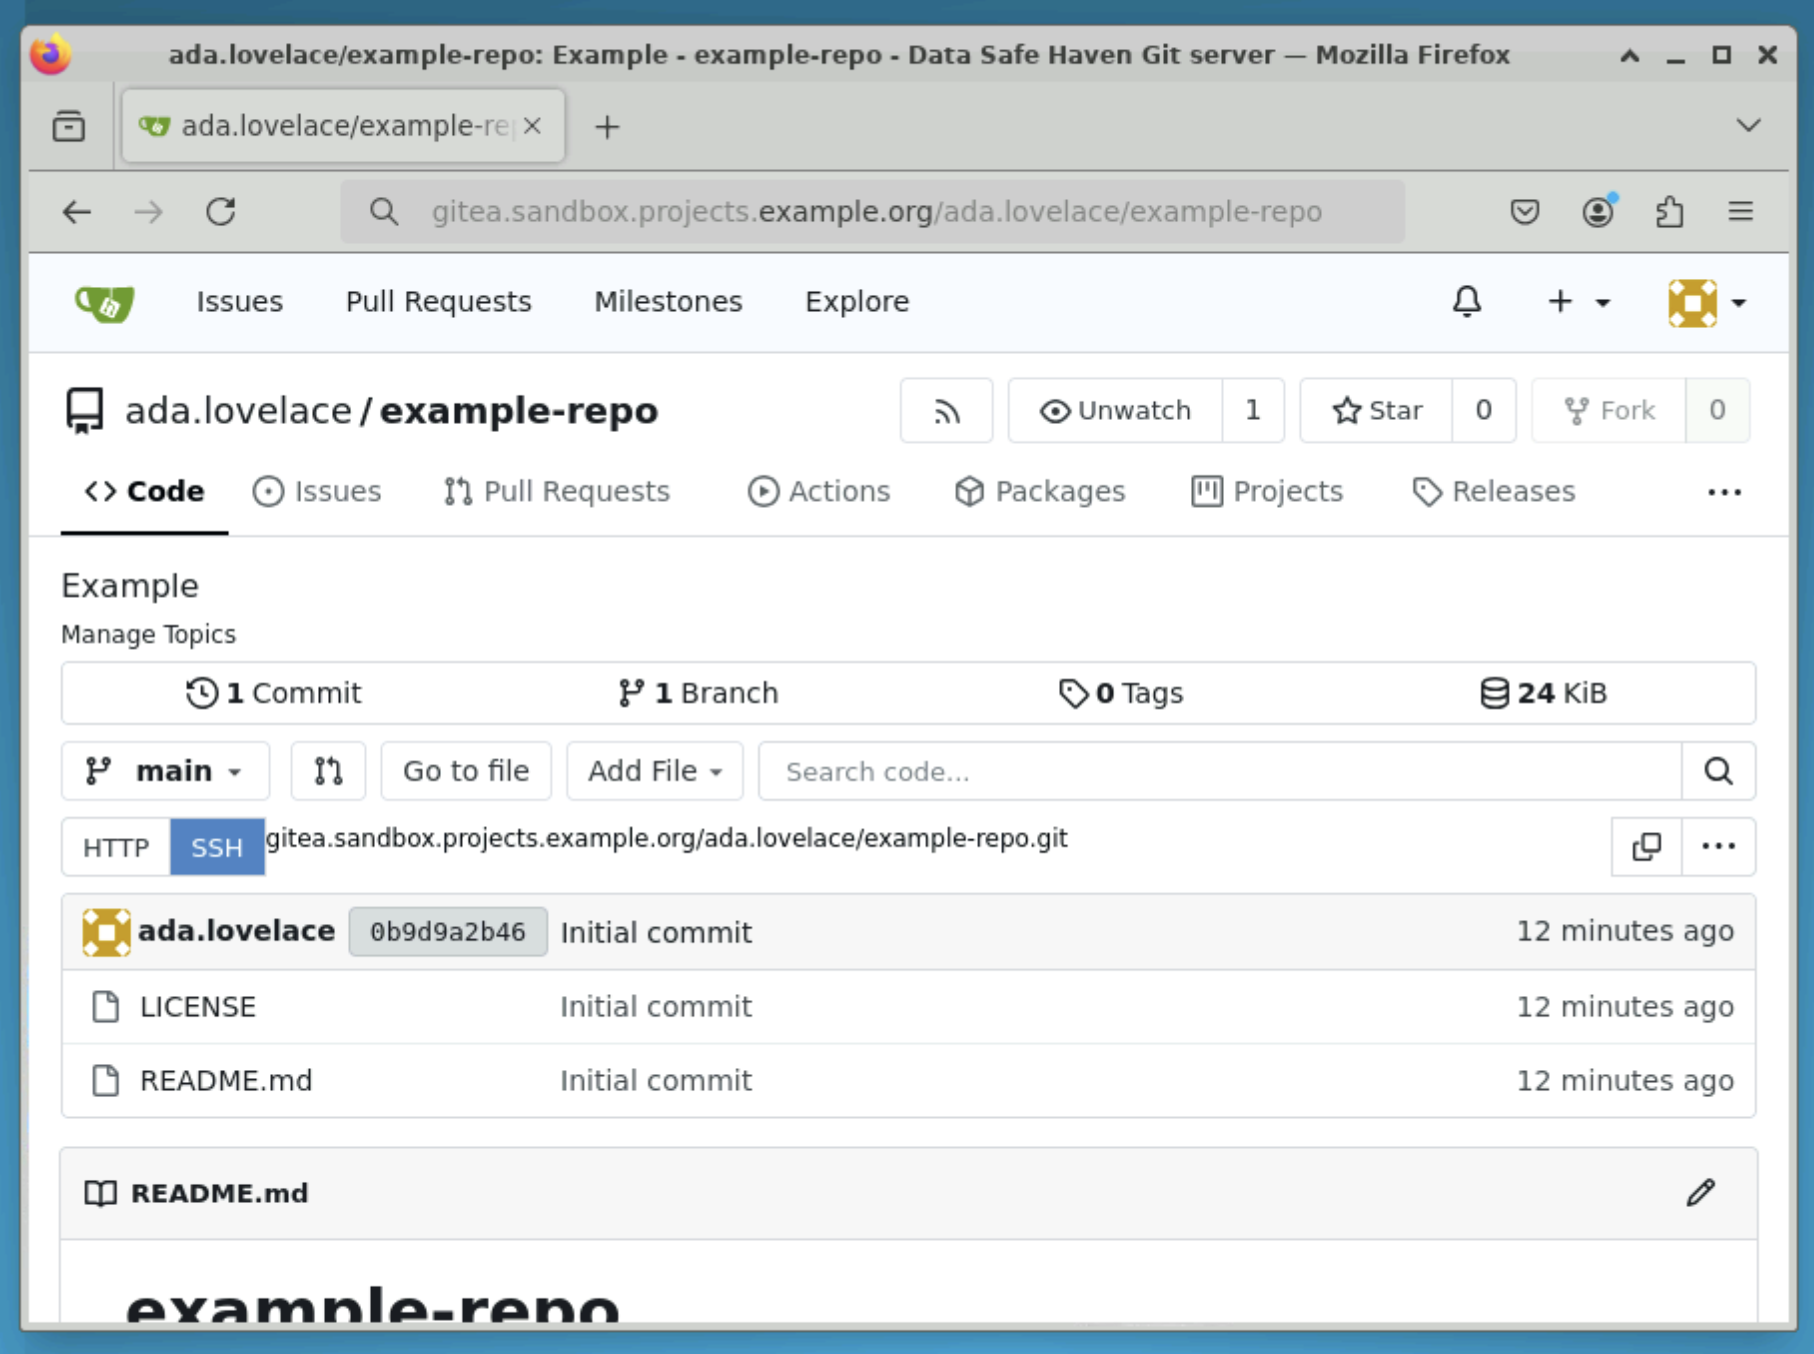
From the repository view, click the HTTP button and copy the URL using the copy icon.
From the terminal, type the following command
git clone URL_YOU_COPIED_FROM_GITEA
This will start the process of copying the repository to the folder you are using in the terminal.
Note
In git, copying a project is known as “cloning”.
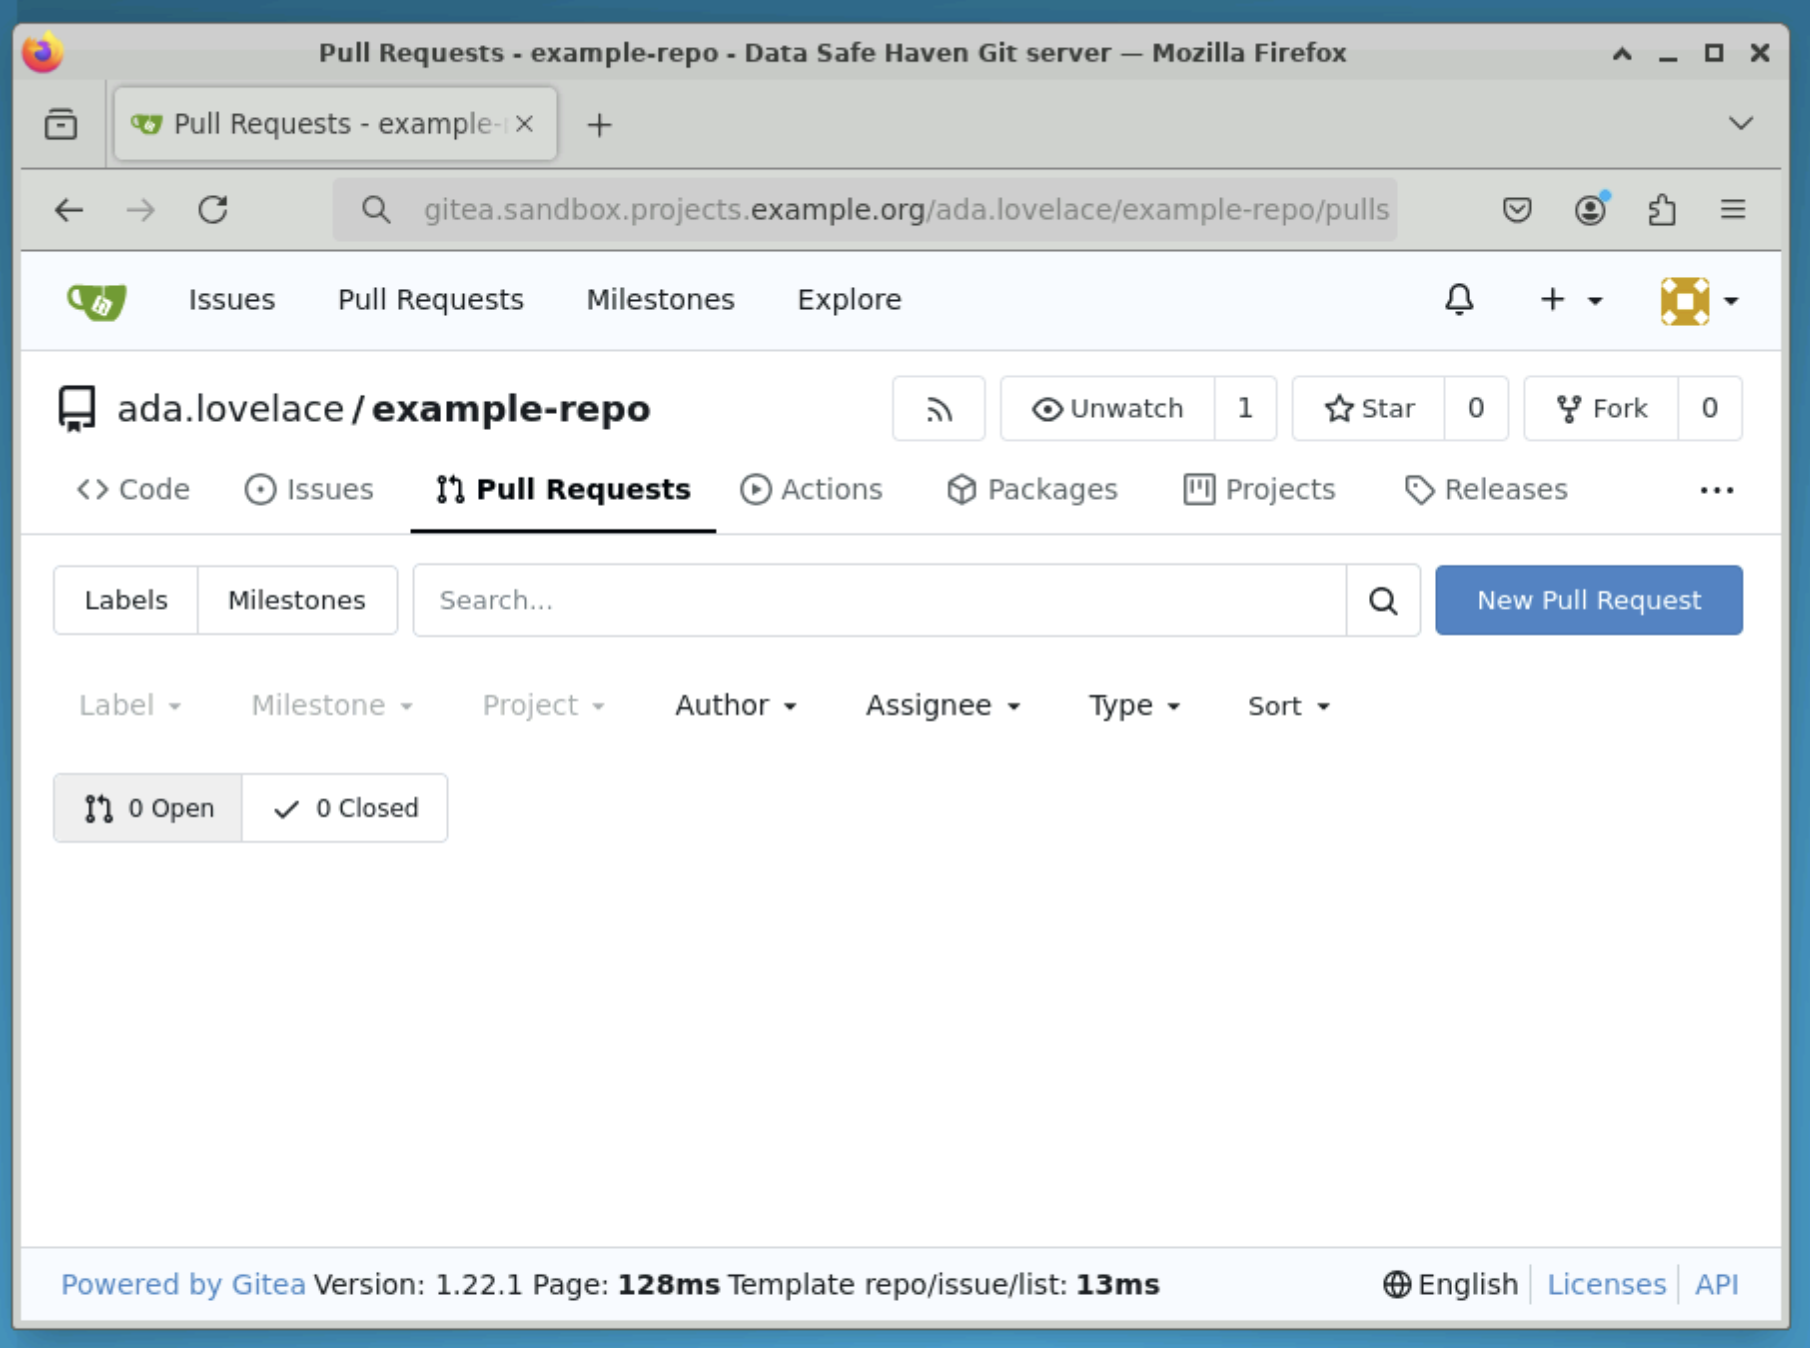
Create a pull request in Gitea
Before you start, you should have already created a branch and pushed your changes.
From the repository view in Gitea, click the Pull requests button.
Click the New Pull Request button on the right side of the screen.
Select the source branch and the target branch then click the New Pull Request button.
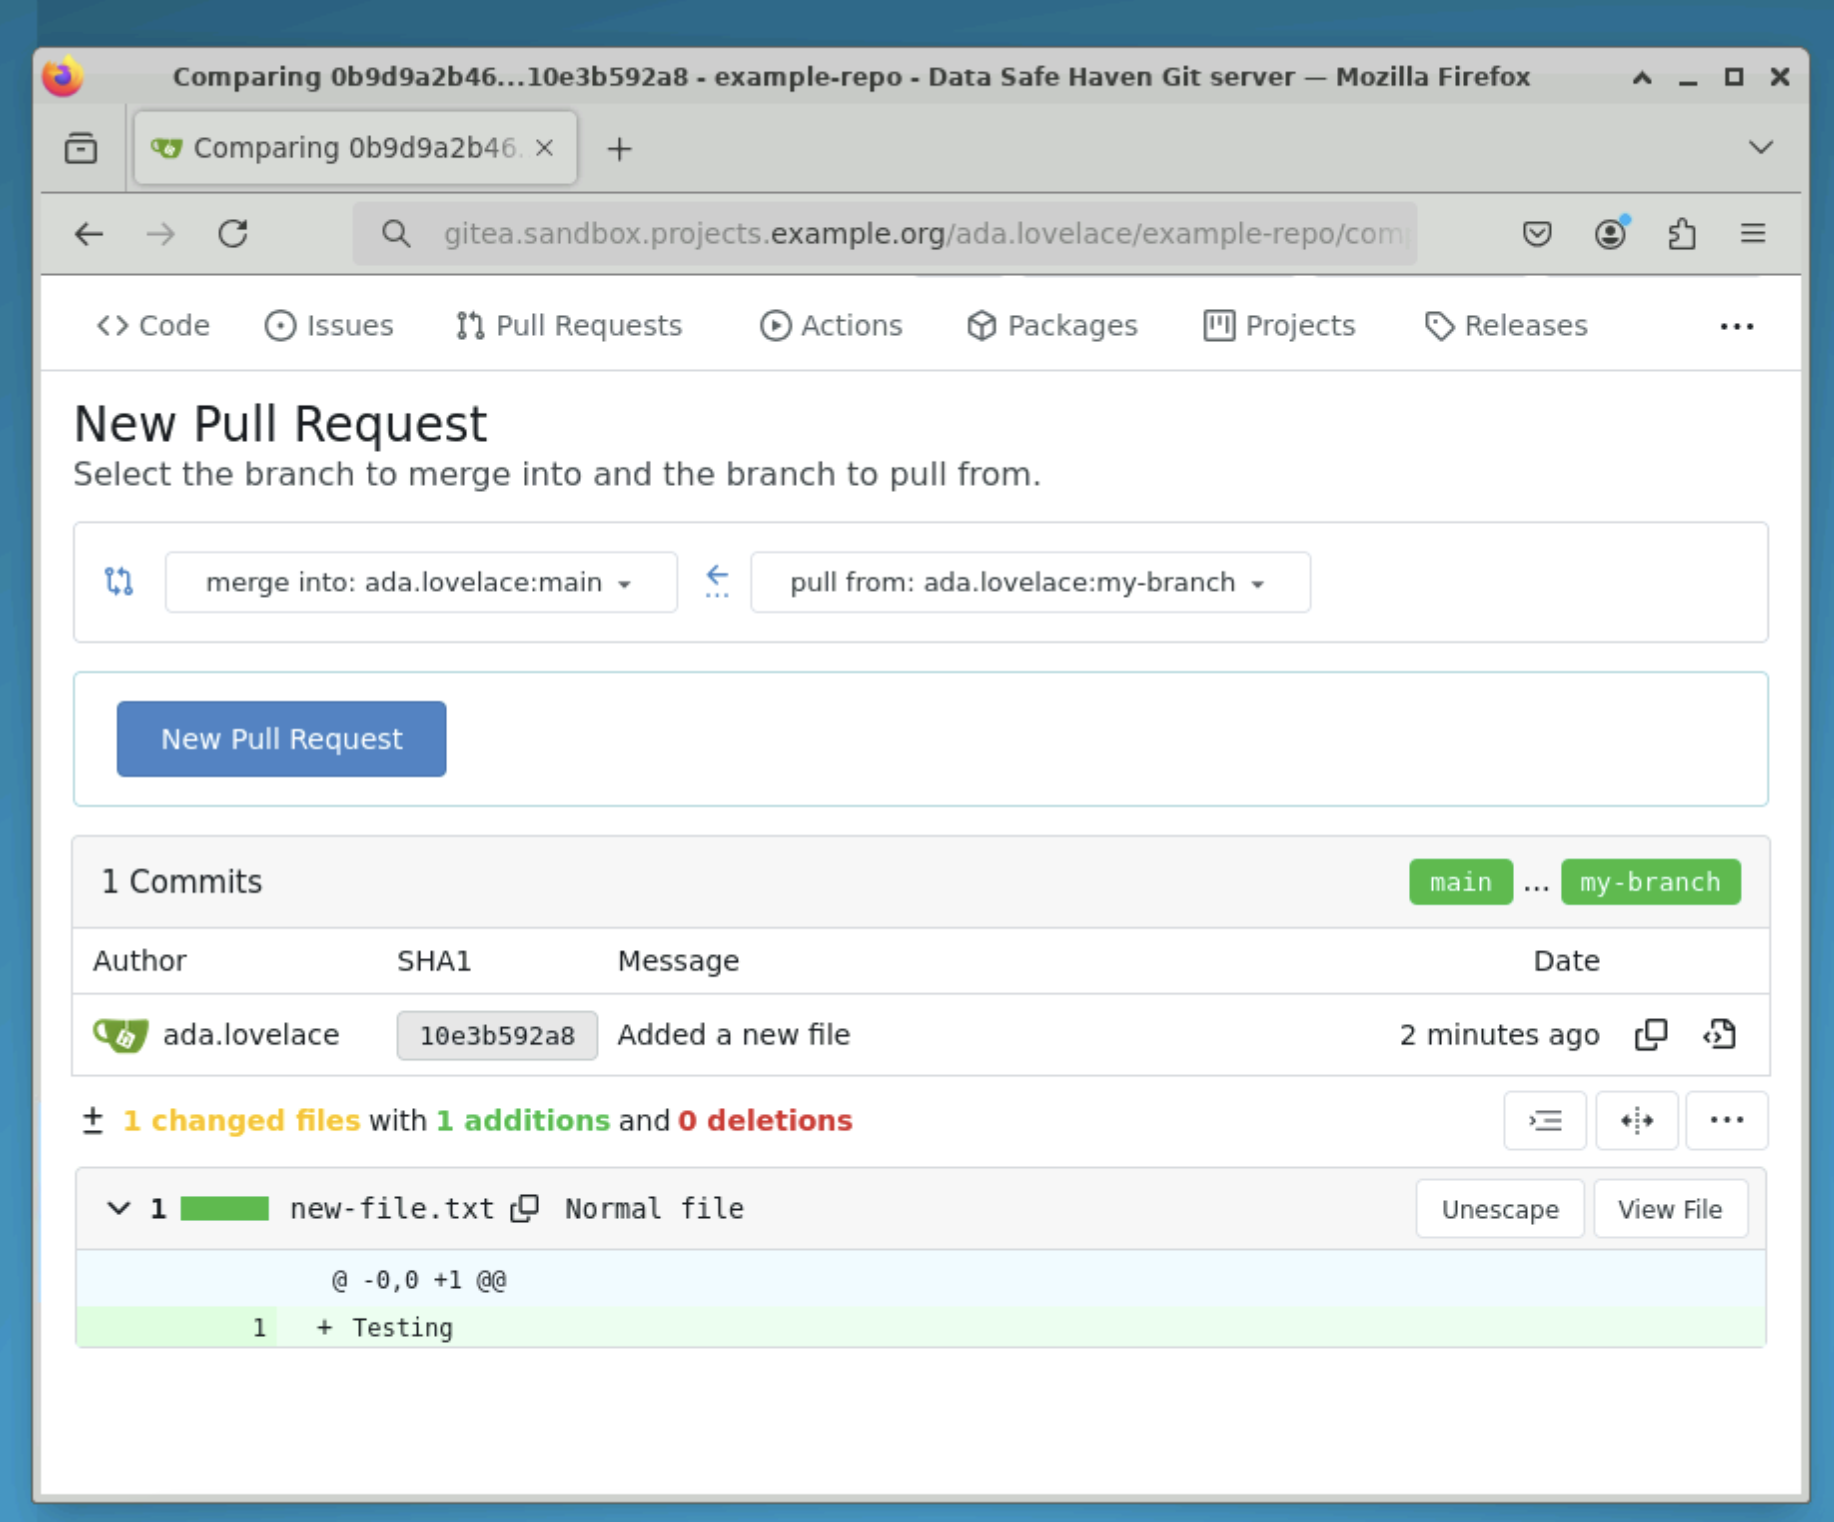
Add a title and description to your pull request then click the Create Pull Request button.
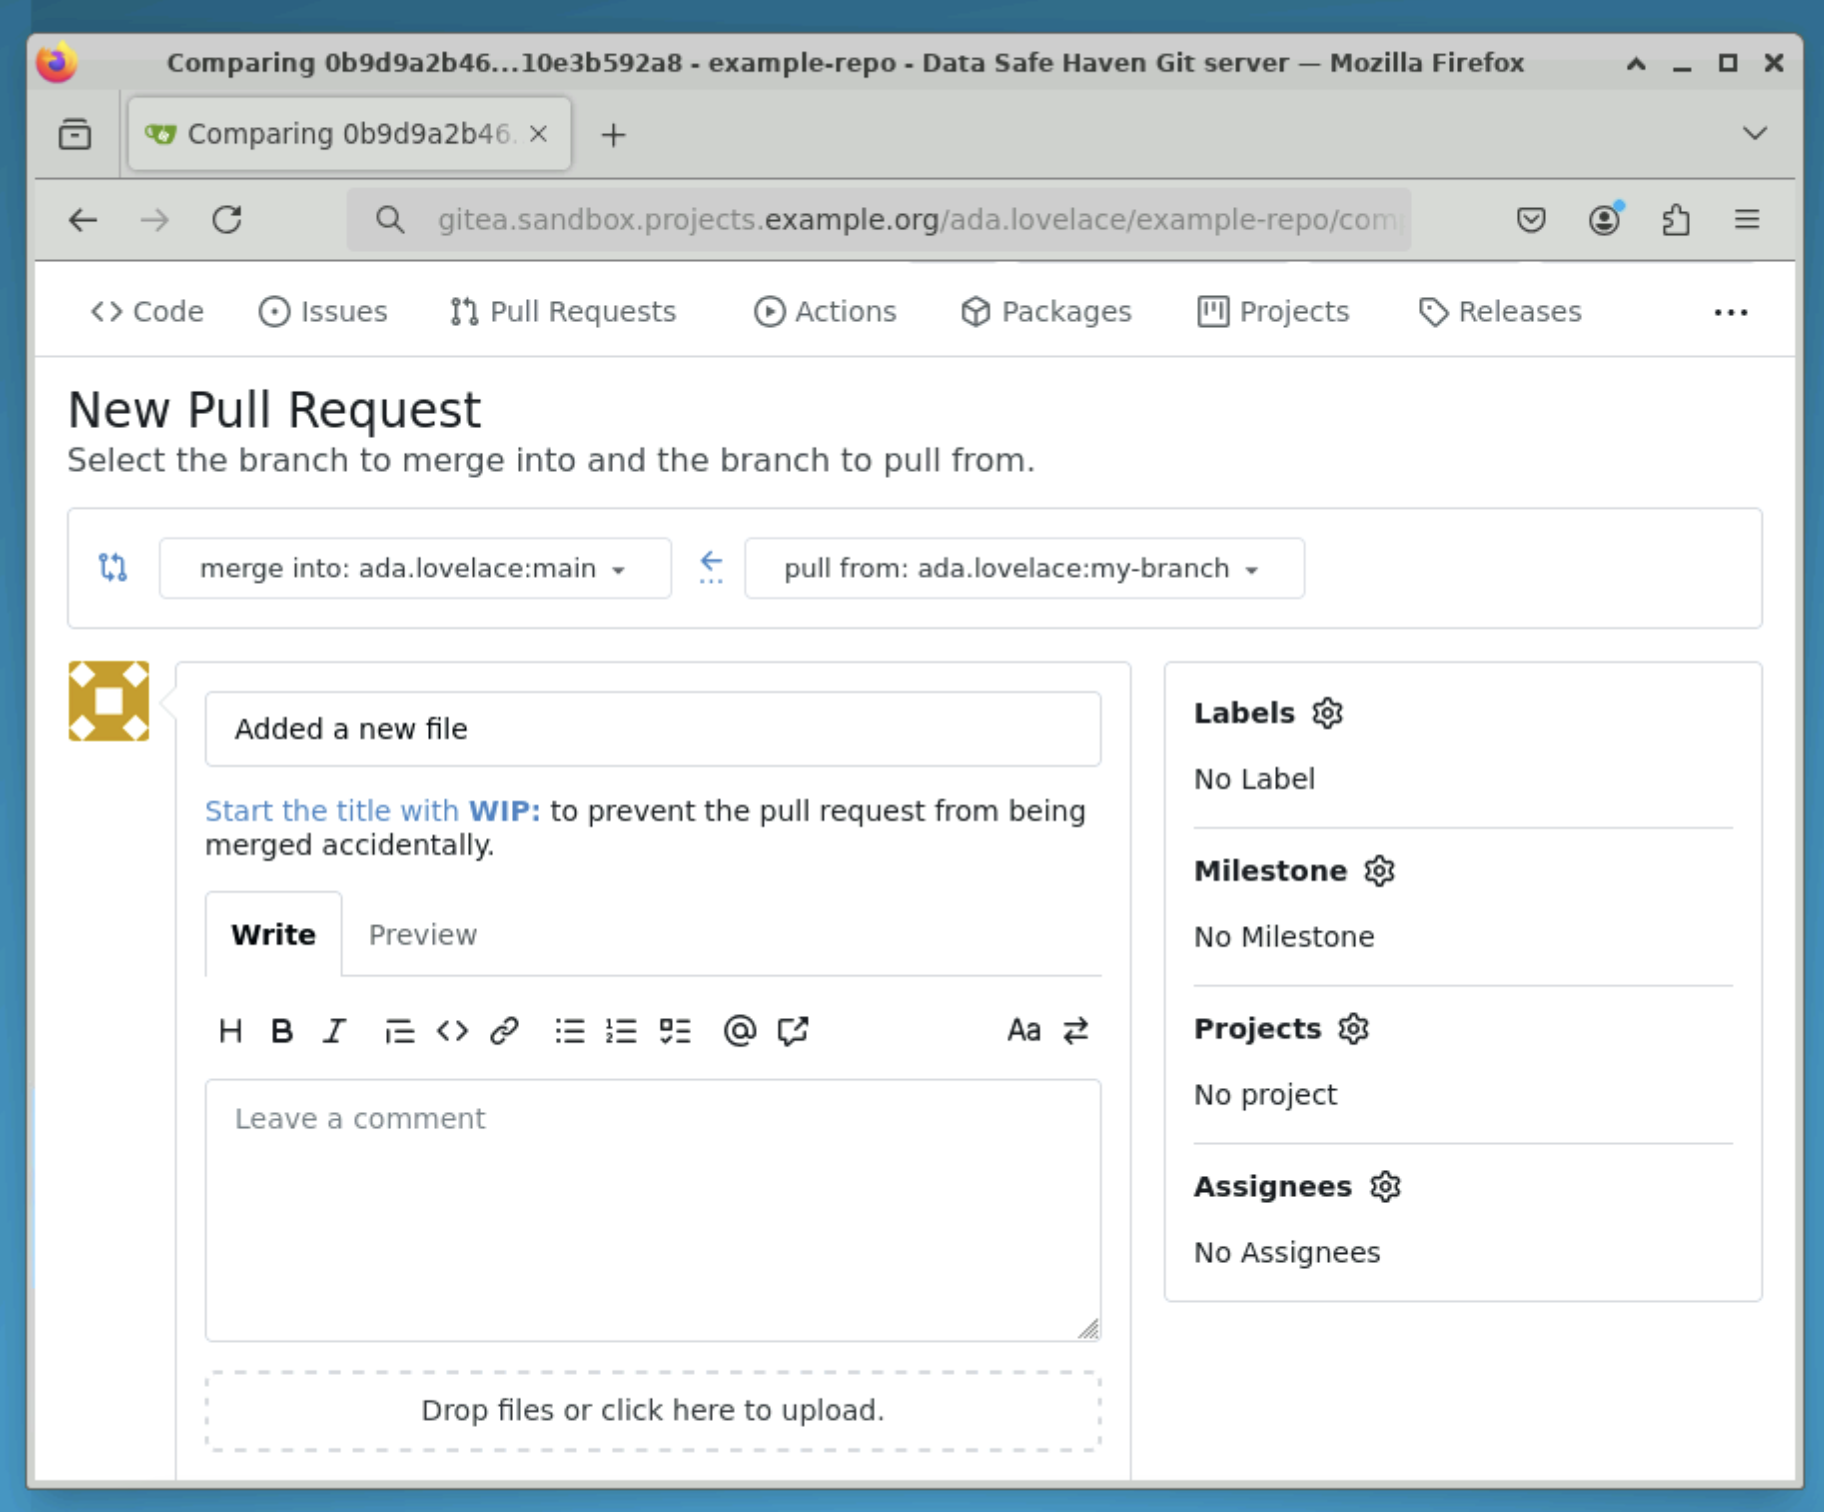
Your pull request is now ready to be approved and merged.
For more information, check the Gitea pull requests documentation.
Create a project board
Gitea supports the concept of projects which can be used to organise tasks.
📖 Collaborative writing using HedgeDoc#
HedgeDoc[2] is an open-source document hosting platform for collaboration - similar to HackMD. It uses Markdown[3] which is a simple way to format your text so that it renders nicely in HTML.
The HedgeDoc server within the SRE can hold documents relating to your team’s analyses. Use the HedgeDoc server to work collaboratively on documents with other project team members.
Important
This HedgeDoc server is entirely within the SRE - you do not need to worry about the security of the information you upload there as it is inaccessible from the public internet.
You can access HedgeDoc from an internet browser from the workspace using the desktop shortcut. Use your short-form username and password to login.
Connecting to HedgeDoc
Click the Sign in button on the top-right of the page.
Enter your short-form username and password.
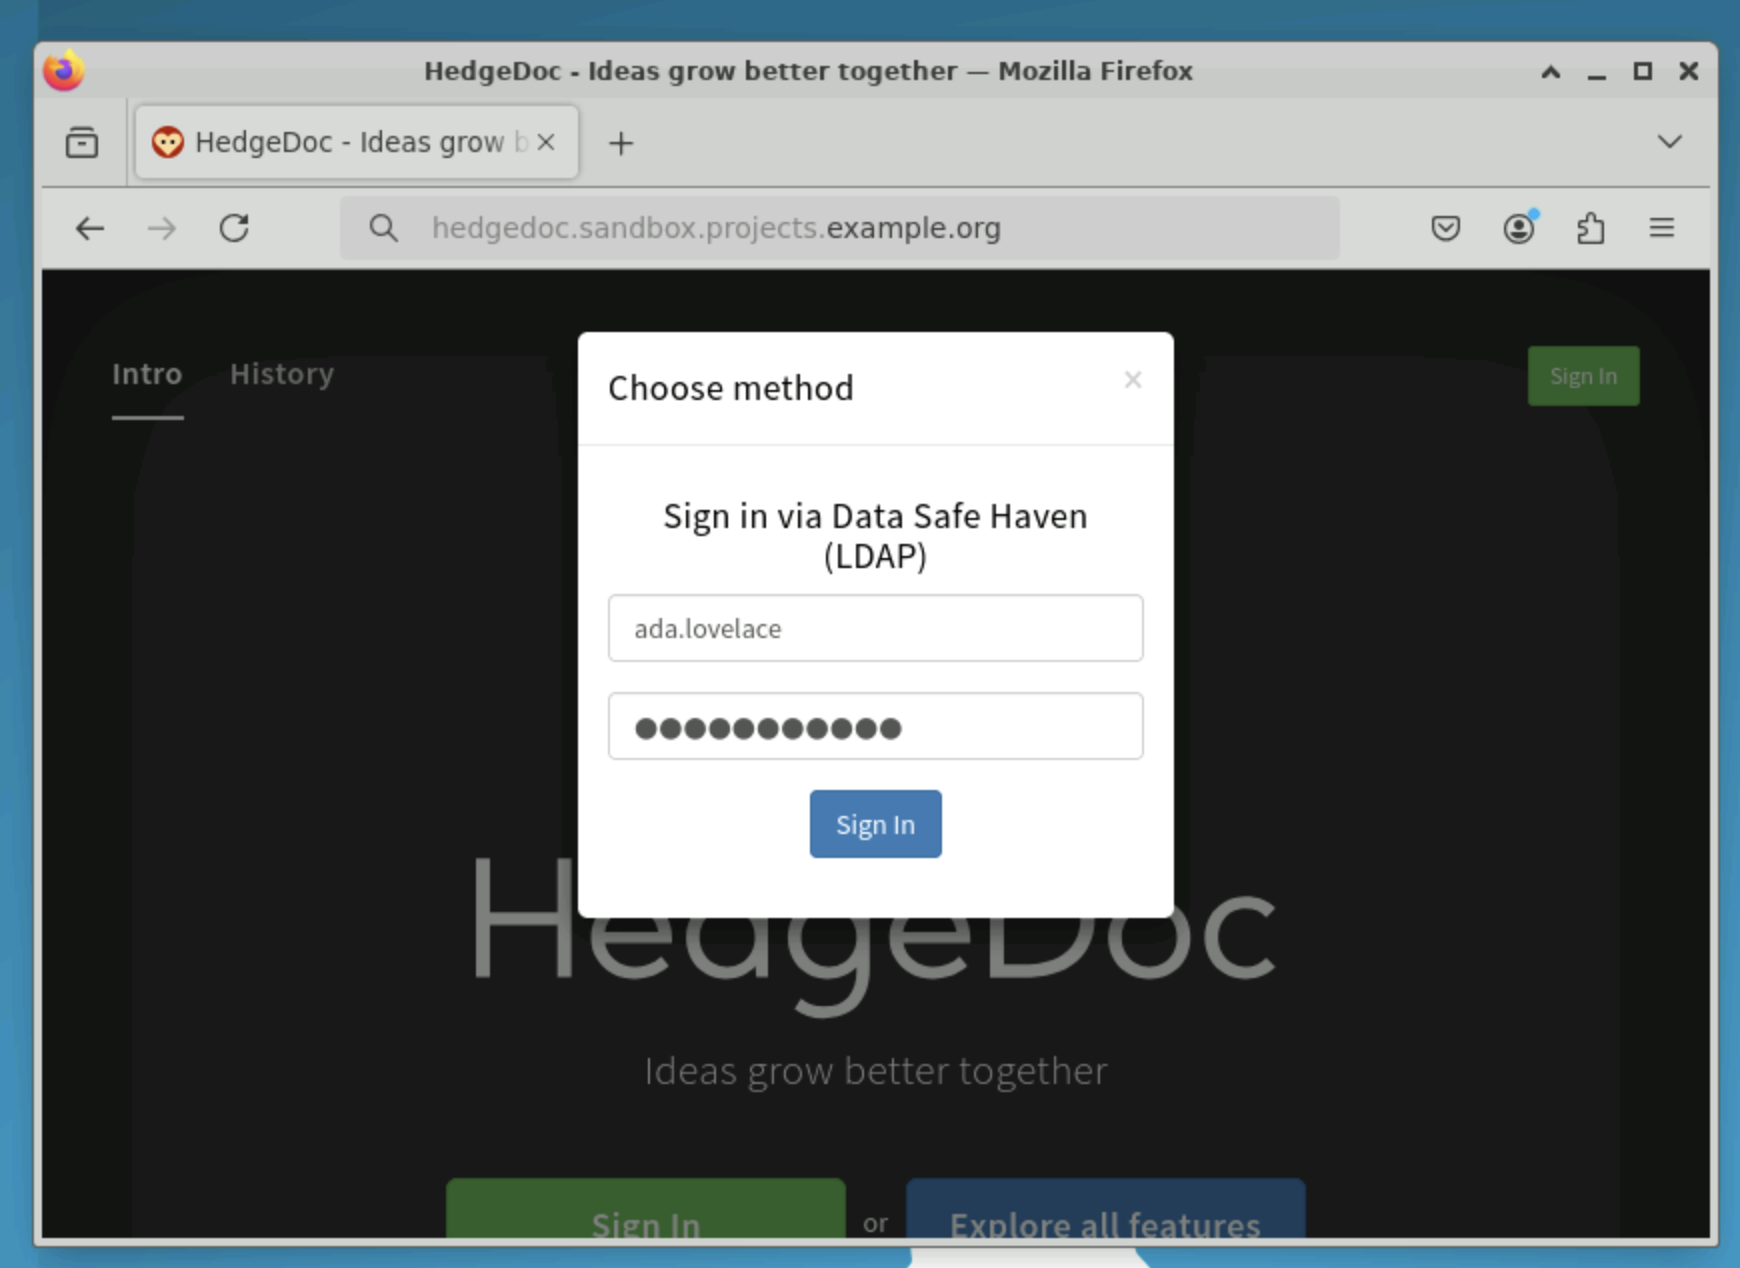
Then click the Sign in button
Editing other people’s documents
When you create a Markdown document inside the SRE you decide on its access permissions.
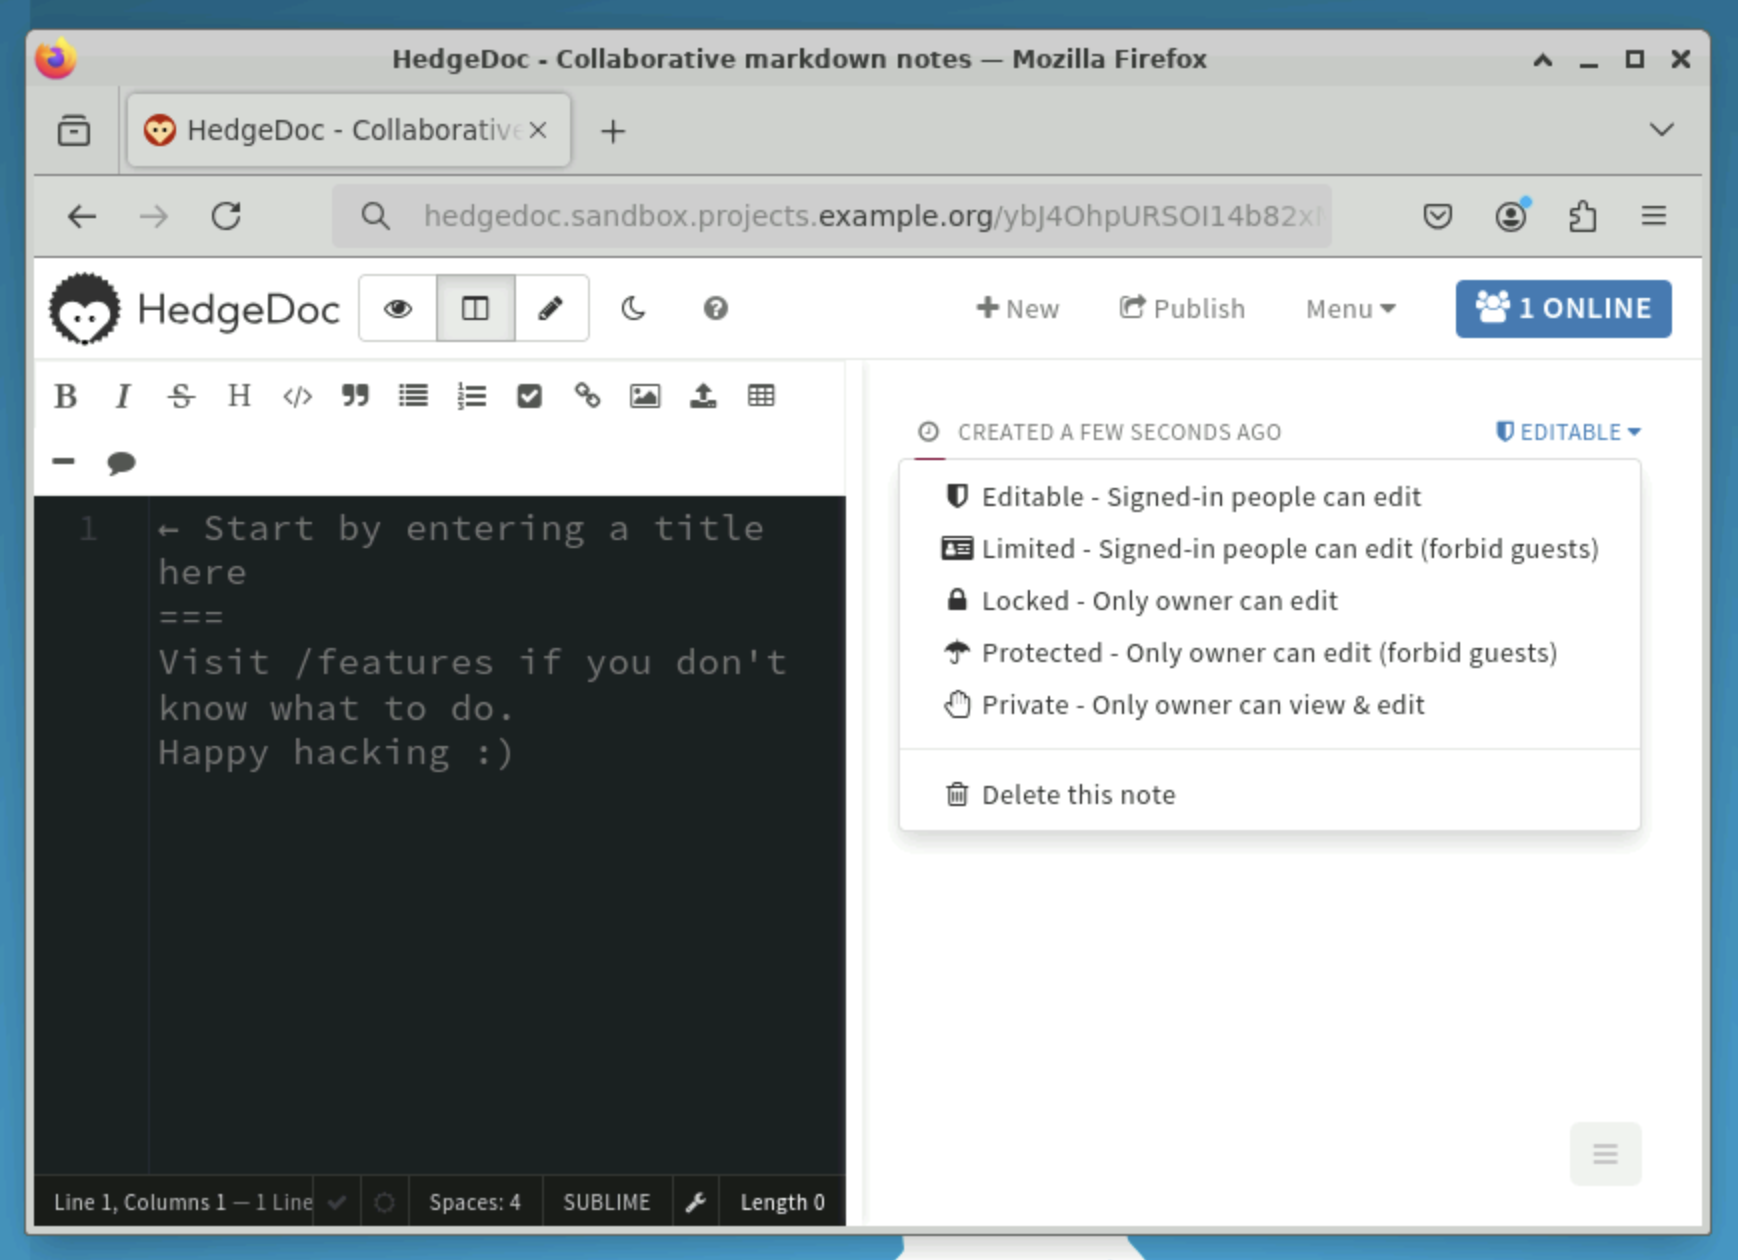
If you make your documents editable, your collaborators will be able to change the file.
If you make your documents locked, your collaborators will be able to read but not edit the file.
Note
The document can only be accessed by your collaborators inside the SRE, it is inaccessible from the public internet.
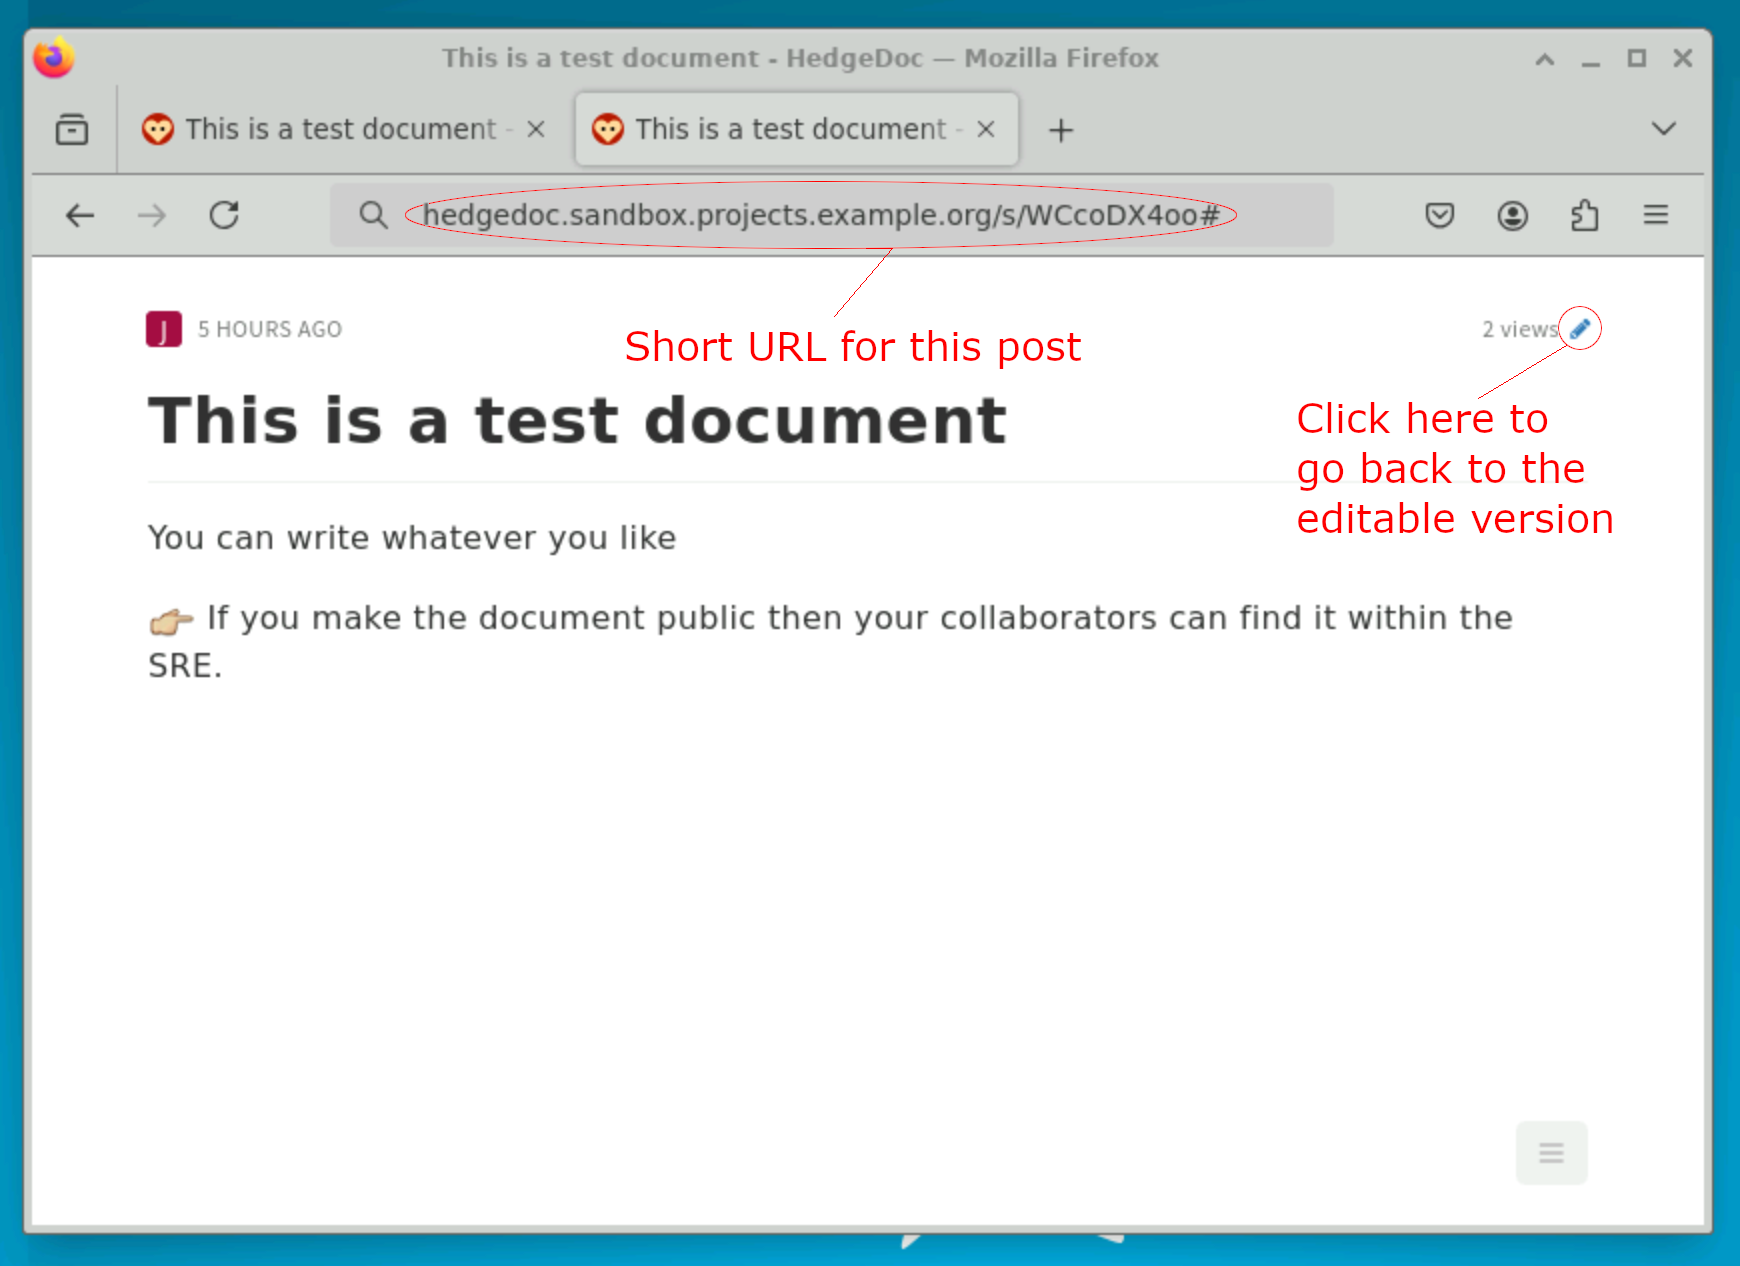
Publishing your documents
The default URL is quite long and difficult to share with your collaborators. We recommend publishing the document to get a much shorter URL which is easier to share with others.
Click the Publish button to publish the document and generate the short URL.
Click the pen icon to return to the editable markdown view.
Important
Remember that the document is not published to the internet, it is only available to others within the SRE.
📗 Database access#
Your project might use a database for holding the input data. You might also/instead be provided with a database for use in analysing the data. The database server will use either Microsoft SQL or PostgreSQL.
If you have access to one or more databases, you can access them using the following details, replacing SRE_URL with the SRE URL for your project.
For guidance on how to use the databases, many resources are available on the internet. Official tutorials for MSSQL and PostgreSQL may be good starting points.
Microsoft SQL server connection details
Server name : mssql.SRE_URL (e.g. mssql.sandbox.projects.example.org)
Username: databaseadmin@shm-SHM_NAME-sre-SRE_NAME-db-server-mssql
Password: provided by your System Manager
Database name: provided by your System Manager
Port: 1433
PostgreSQL server connection details
Server name: postgresql.SRE_URL (e.g. postgresql.sandbox.projects.example.org)
Username: databaseadmin
Password: provided by your System Manager
Database name: provided by your System Manager
Port: 5432
Examples are given below for connecting using Beekeeper Studio, Python and R. The instructions for using other graphical interfaces or programming languages will be similar.
🐝 Connecting using Beekeeper Studio#
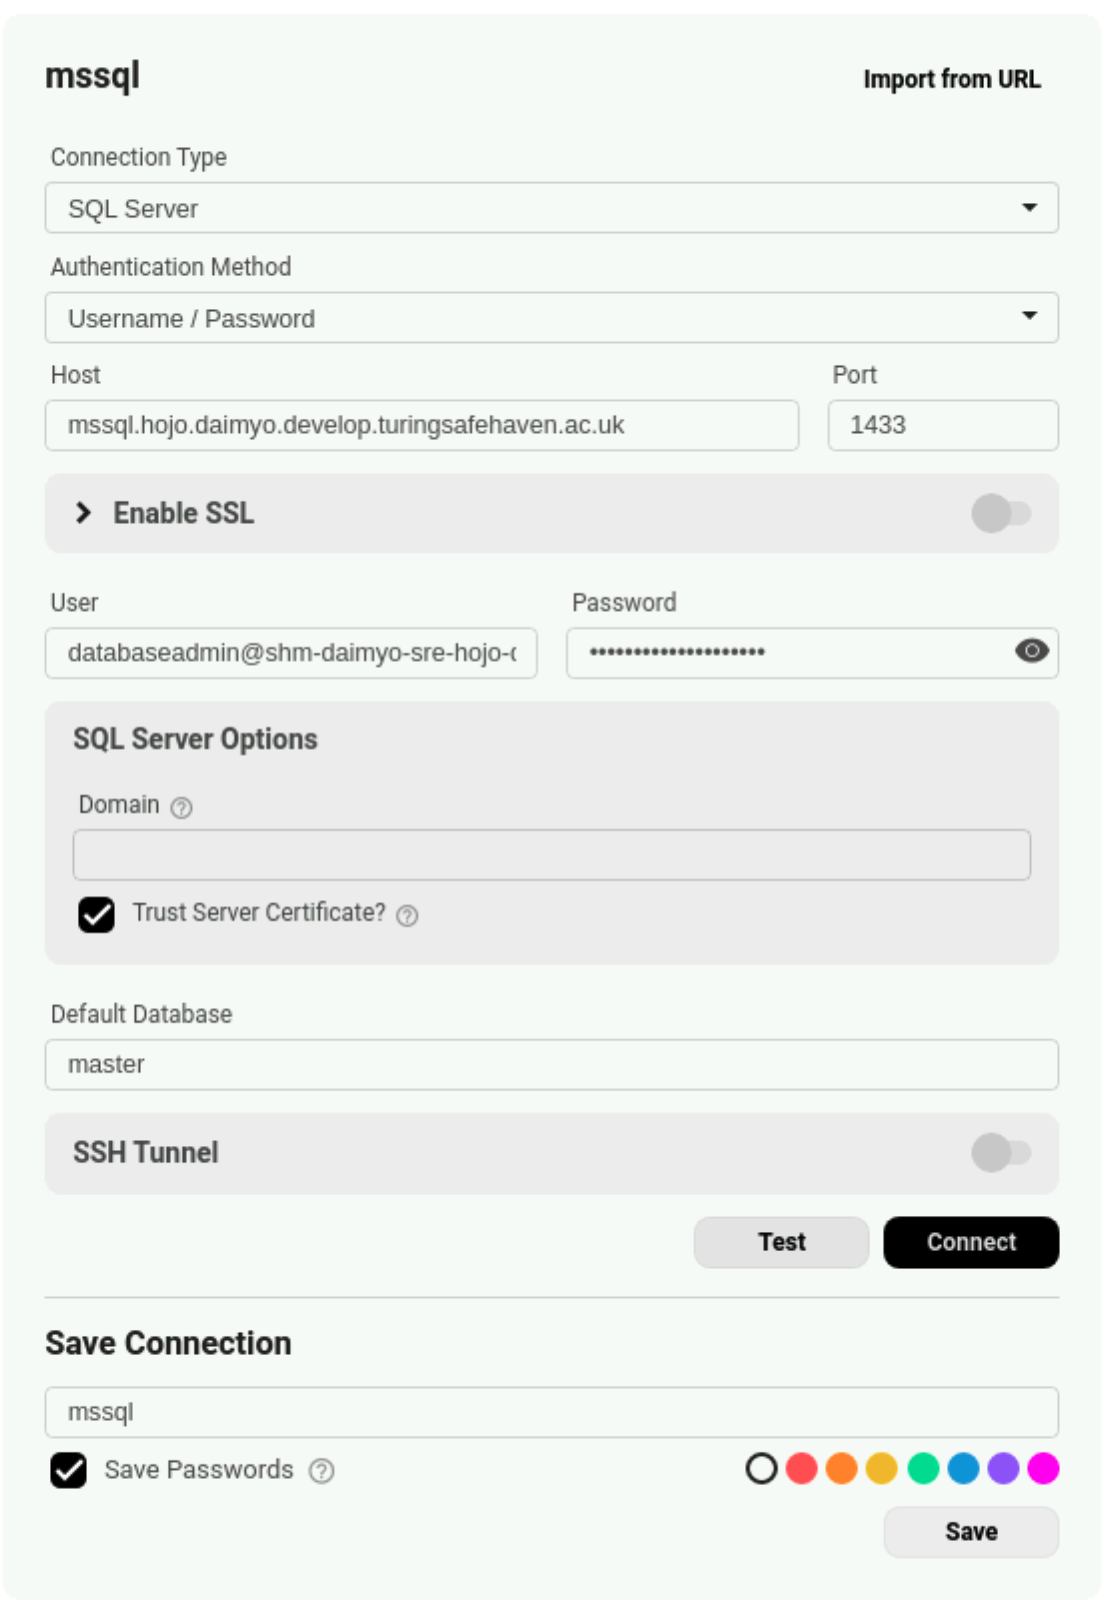
Microsoft SQL
Click on the + New Connection button
Select SQL Server as the database type
Enter the connection details
Authentication: Username/Password
Host: as above
Port: as above
Enable SSL: false
User: as above
Password: as above
Domain: empty
Trust Server Certificate: true
Default Database: master
Click on Test to test the connection settings
Click on Connect to connect to the database or enter a name and click Save to save the connection settings for future use
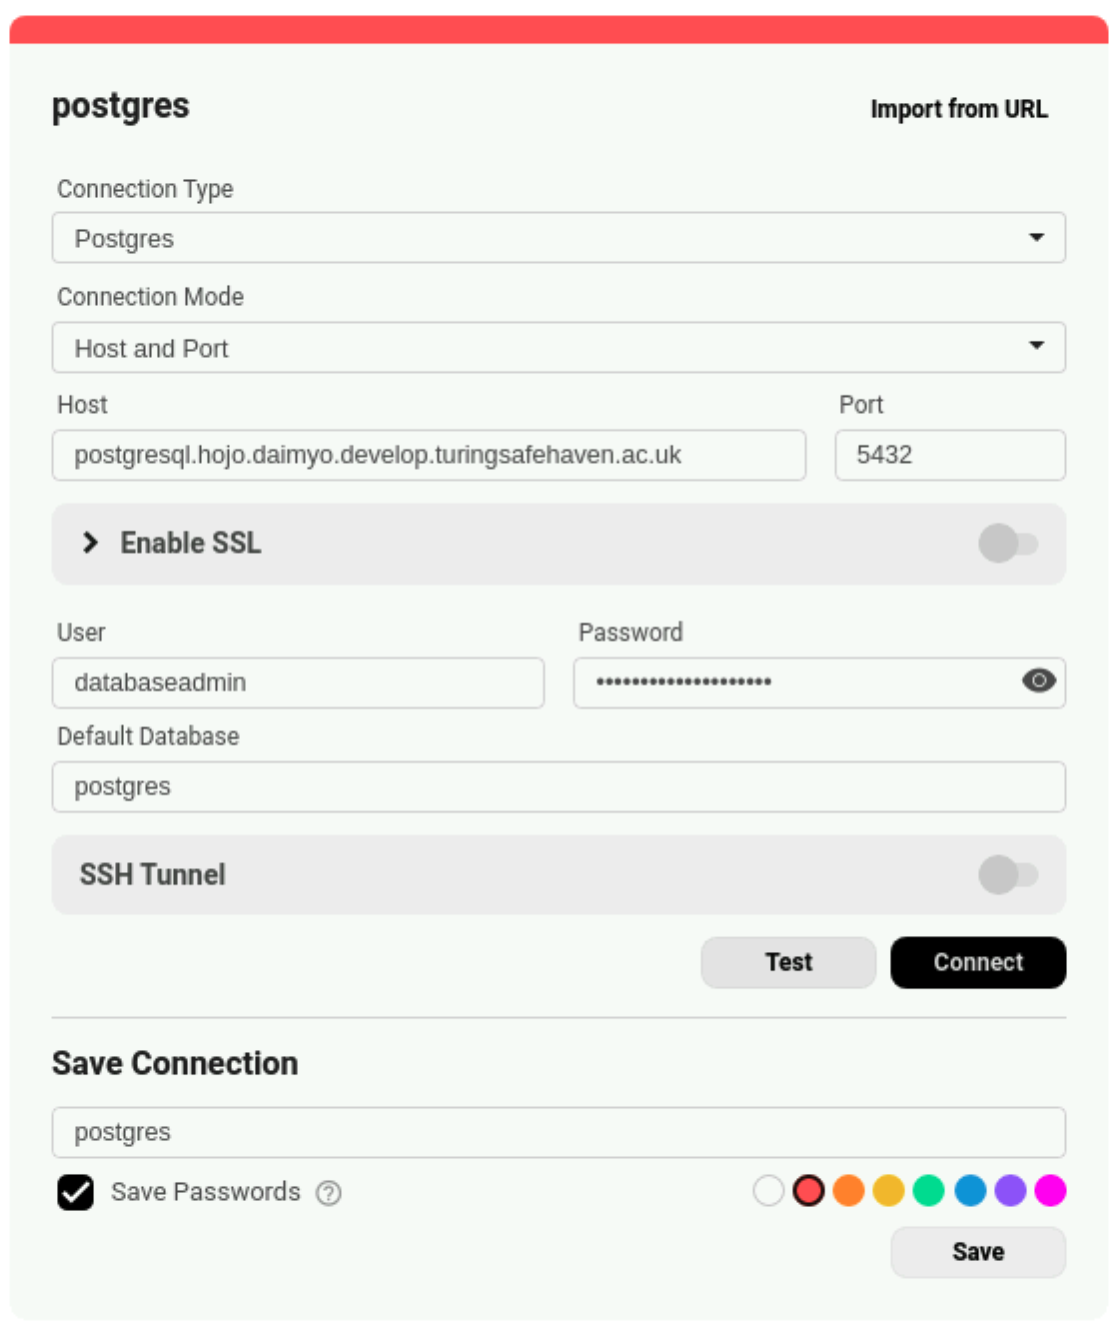
PostgreSQL
Click on the + New Connection button
Select Postgres as the database type
Enter the connection details
Connection Mode: Host and Port
Host: as above
Port: as above
Enable SSL: false
User: as above
Password: as above
Default Database: postgres
Click on Test to test the connection settings
Click on Connect to connect to the database or enter a name and click Save to save the connection settings for future use
🐍 Connecting using Python#
Database connections can be made using pyodbc (Microsoft SQL) or psycopg2 (PostgreSQL). The data can be read into a dataframe for local analysis.
Microsoft SQL
Example of how to connect to the database server
import pyodbc
import pandas as pd

# Connect to the database server
server = "mssql.sandbox.projects.example.org"
port = "1433"
db_name = "master"
cnxn = pyodbc.connect(
    "DRIVER={ODBC Driver 17 for SQL Server};" + \
    f"SERVER={server},{port};" + \
    f"DATABASE={db_name};" + \
    "Trusted_Connection=yes;"
)

# Run a query and save the output into a dataframe
df = pd.read_sql("SELECT * FROM information_schema.tables;", cnxn)
print(df.head(3))
PostgreSQL
Example of how to connect to the database server
import psycopg2
import pandas as pd

# Connect to the database server
server = "postgresql.sandbox.projects.example.org"
port = 5432
db_name = "postgres"
cnxn = psycopg2.connect(host=server, port=port, database=db_name)

# Run a query and save the output into a dataframe
df = pd.read_sql("SELECT * FROM information_schema.tables;", cnxn)
print(df.head(3))
🌹 Connecting using R#
Database connections can be made using odbc (Microsoft SQL) or RPostgres (PostgreSQL). The data can be read into a dataframe for local analysis.
Microsoft SQL
Example of how to connect to the database server
library(DBI)
library(odbc)

# Connect to the database server
cnxn <- DBI::dbConnect(
    odbc::odbc(),
    Driver = "ODBC Driver 17 for SQL Server",
    Server = "mssql.sandbox.projects.example.org,1433",
    Database = "master",
    Trusted_Connection = "yes"
)

# Run a query and save the output into a dataframe
df <- dbGetQuery(cnxn, "SELECT * FROM information_schema.tables;")
head(df, 3)
PostgreSQL
Example of how to connect to the database server
library(DBI)
library(RPostgres)

# Connect to the database server
cnxn <- DBI::dbConnect(
    RPostgres::Postgres(),
    host = "postgresql.sandbox.projects.example.org",
    port = 5432,
    dbname = "postgres"
)

# Run a query and save the output into a dataframe
df <- dbGetQuery(cnxn, "SELECT * FROM information_schema.tables;")
head(df, 3)