Accessing the Secure Research Environment#
🌱 Prerequisites#
After going through the account setup procedure, you should have access to:
Your username
Your password
The SRE URL
Tip
If you aren’t sure about any of these then please return to the Set up your account section.
🔓 Log into the research environment#
1. Browse to the SRE URL
Open a private/incognito browser session, so that you don’t pick up any existing Microsoft logins
Go to the SRE URL given by your System Manager.
Note
Our example user, Ada Lovelace, participating in the sandbox project, would navigate to https://sandbox.projects.example.org.
2. Enter your username and password at the prompt
At the login prompt enter your long-form username and click on the Next button
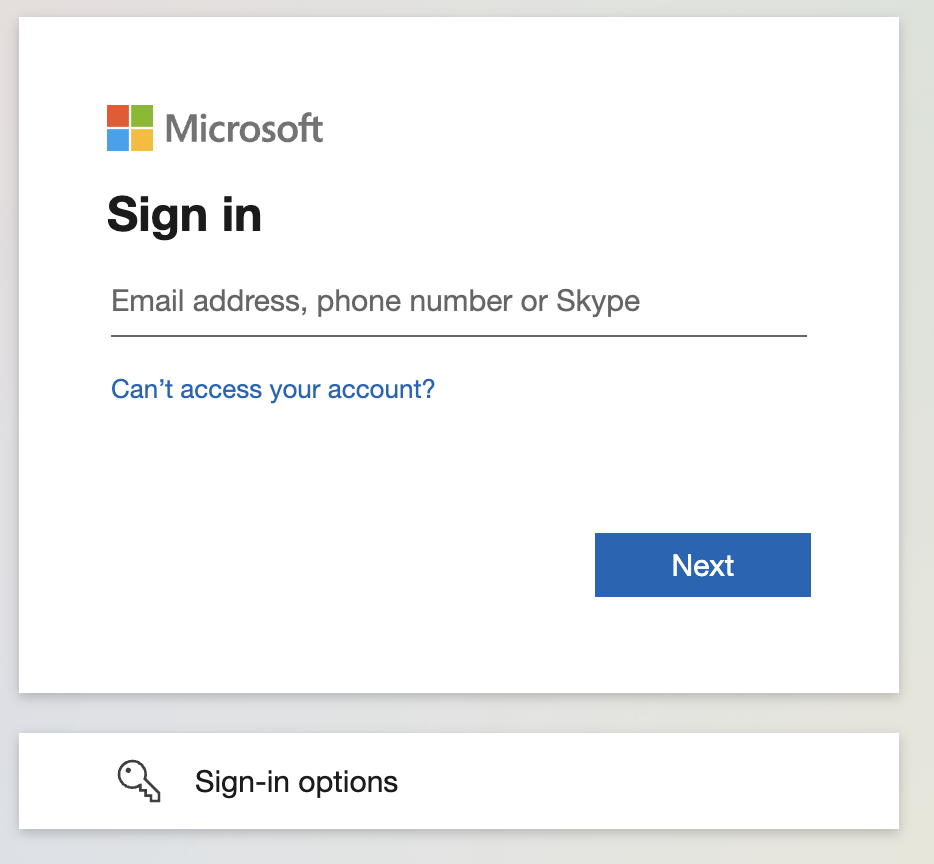
Tip
Our example user, Ada Lovelace, would use ada.lovelace@projects.example.org here.
Enter your password at the prompt and click on the Next button
3. Login with MFA
You will now receive a call or mobile app notification to authenticate using multifactor authentication (MFA).

📞 For the call, you may have to move to an area with good reception and/or press the hash (#) key multiple times in-call.
📱 For the app you will see a notification saying “You have received a sign in verification request”. Go to the app to approve the request.
Caution
If you don’t respond to the MFA request quickly enough, or if it fails, you may get an error. If this happens, please retry
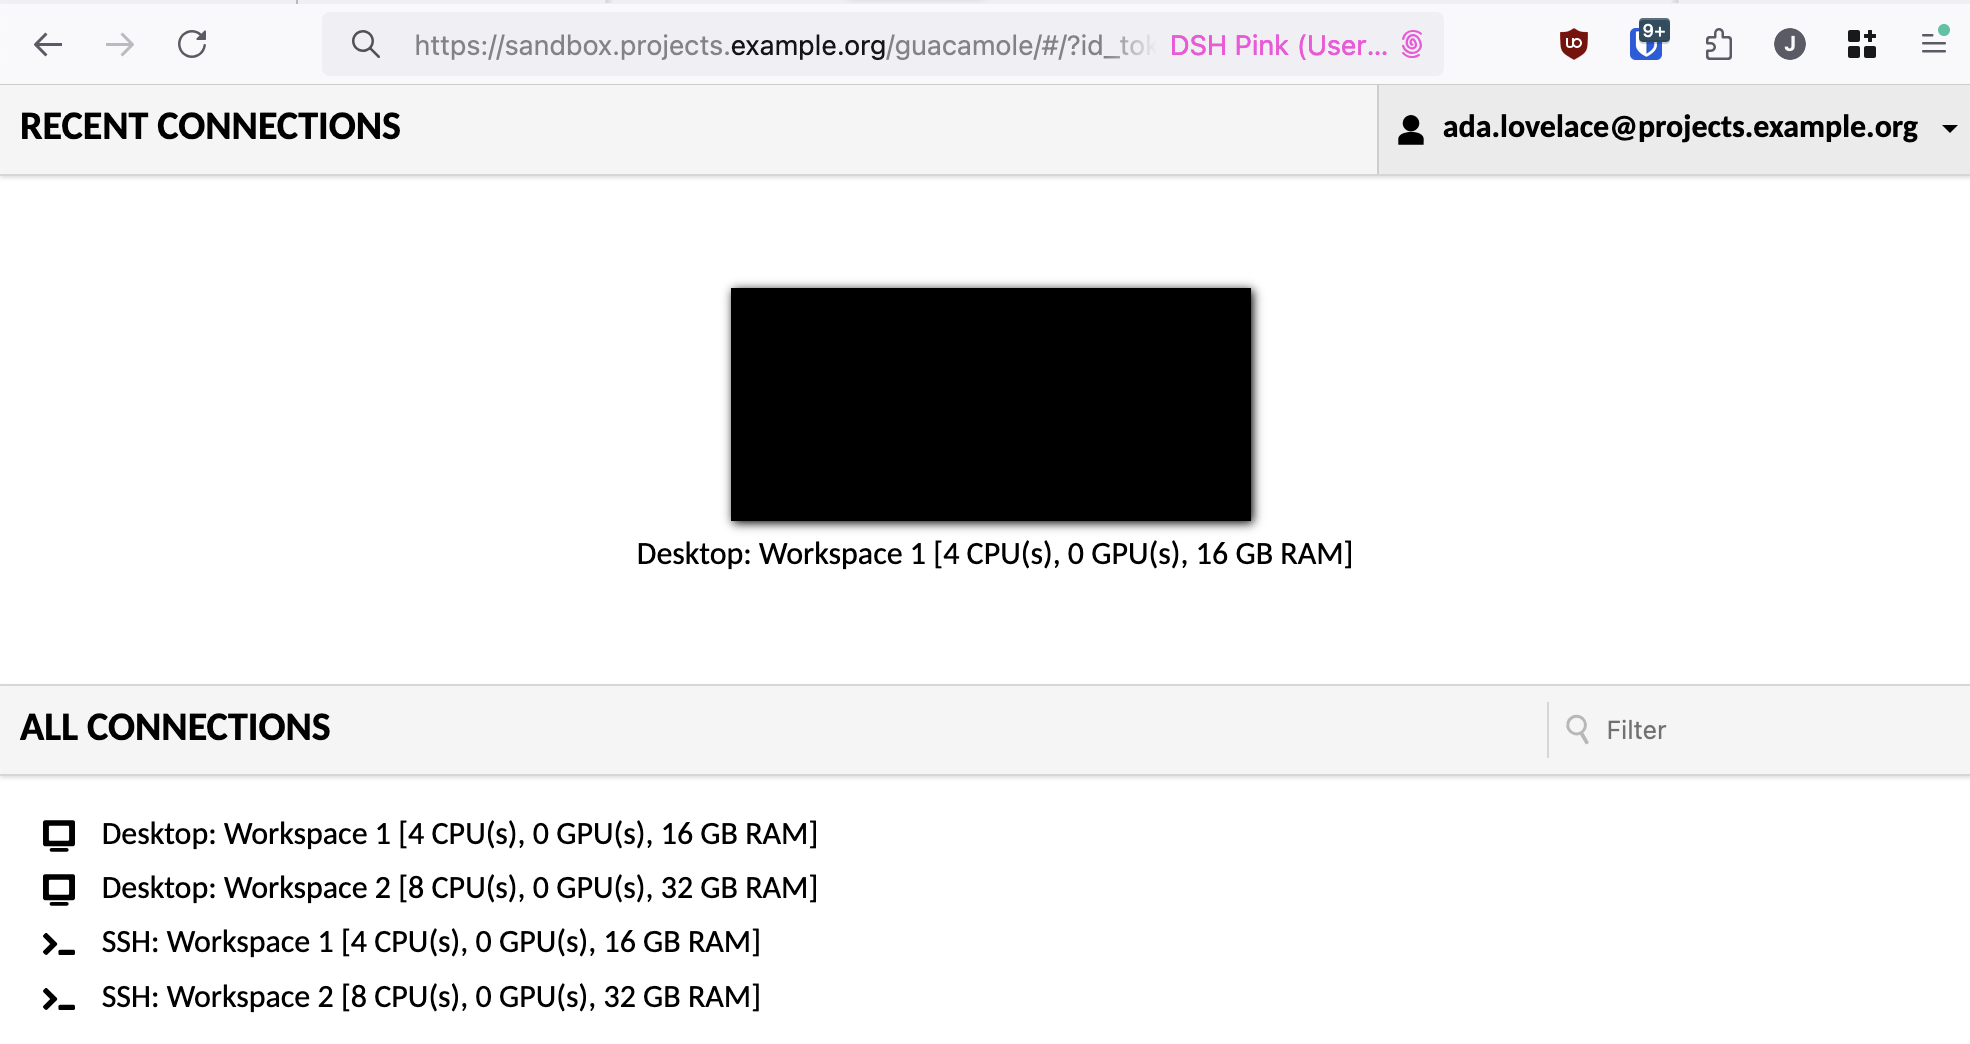
You should now be able to see the SRE dashboard screen which will look like the following
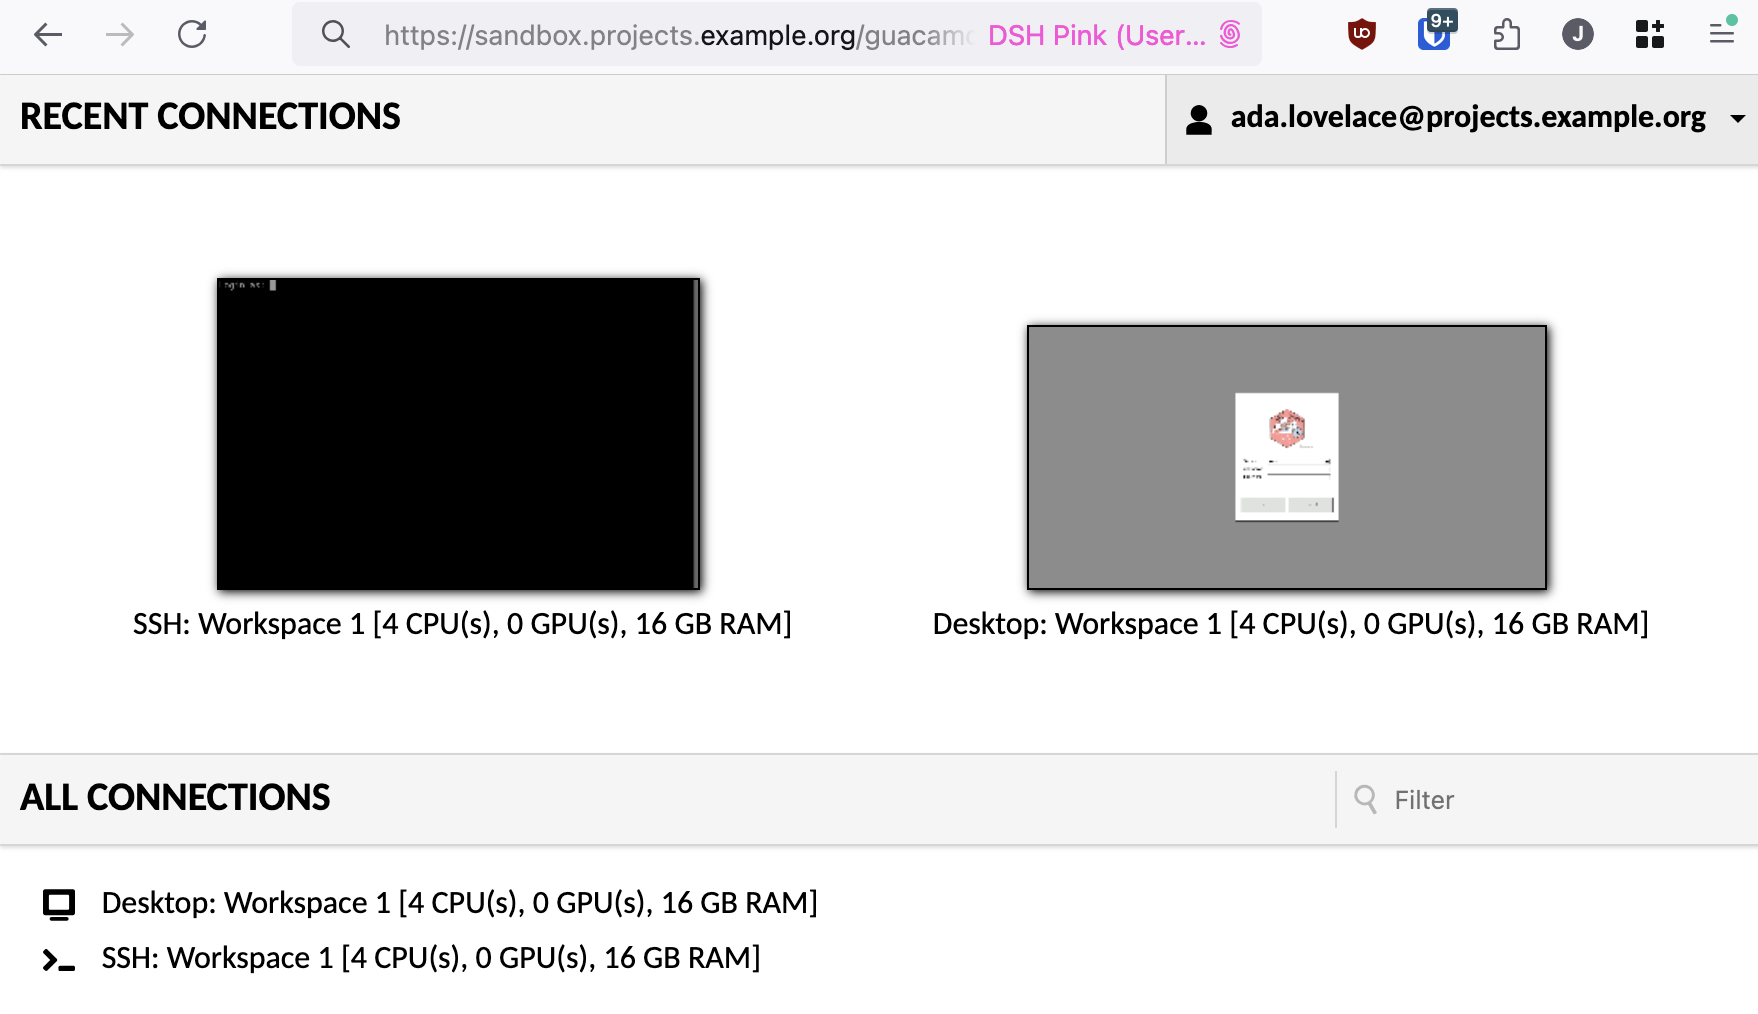
🏠 Log into a workspace#
On the SRE dashboard, you should see multiple different workspaces that you can access either via an interactive desktop environment (Desktop) or a terminal environment (SSH).
Important
If you do not see any available workspaces please contact your System Manager.
Each of these is a computer[1] with a wide variety of data analysis applications and programming languages pre-installed. You can use them to analyse the sensitive data belonging to your project while remaining isolated from the wider internet.
1. Select a workspace
Click on one of the Desktop connections from the list in All Connections
Note
Each workspace should have an annotation which indicates its available resources:
CPUs
GPUs
RAM
Caution
These workspaces are shared between everyone on your project. Talk to your collaborators to ensure that you’re not all using the same one.
2. Login with your user credentials
Enter your short-form username and password at the prompt.
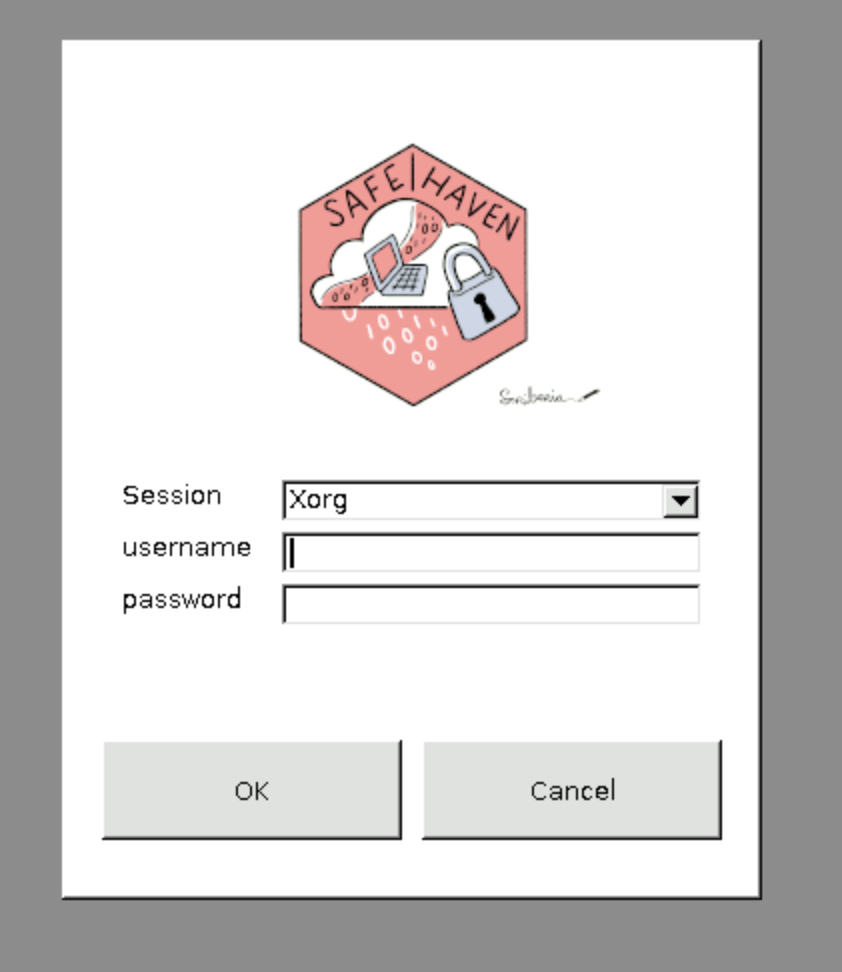
Note
Our example user, Ada Lovelace, would enter ada.lovelace and her password.
Error
If you enter your username and/or password incorrectly you will see a warning like the one below. If this happens, please try again, entering your username and password carefully.

If you want to reset your password, follow the steps defined in the Password and MFA section.
You should now be able to see the SRE dashboard screen which will look like the following
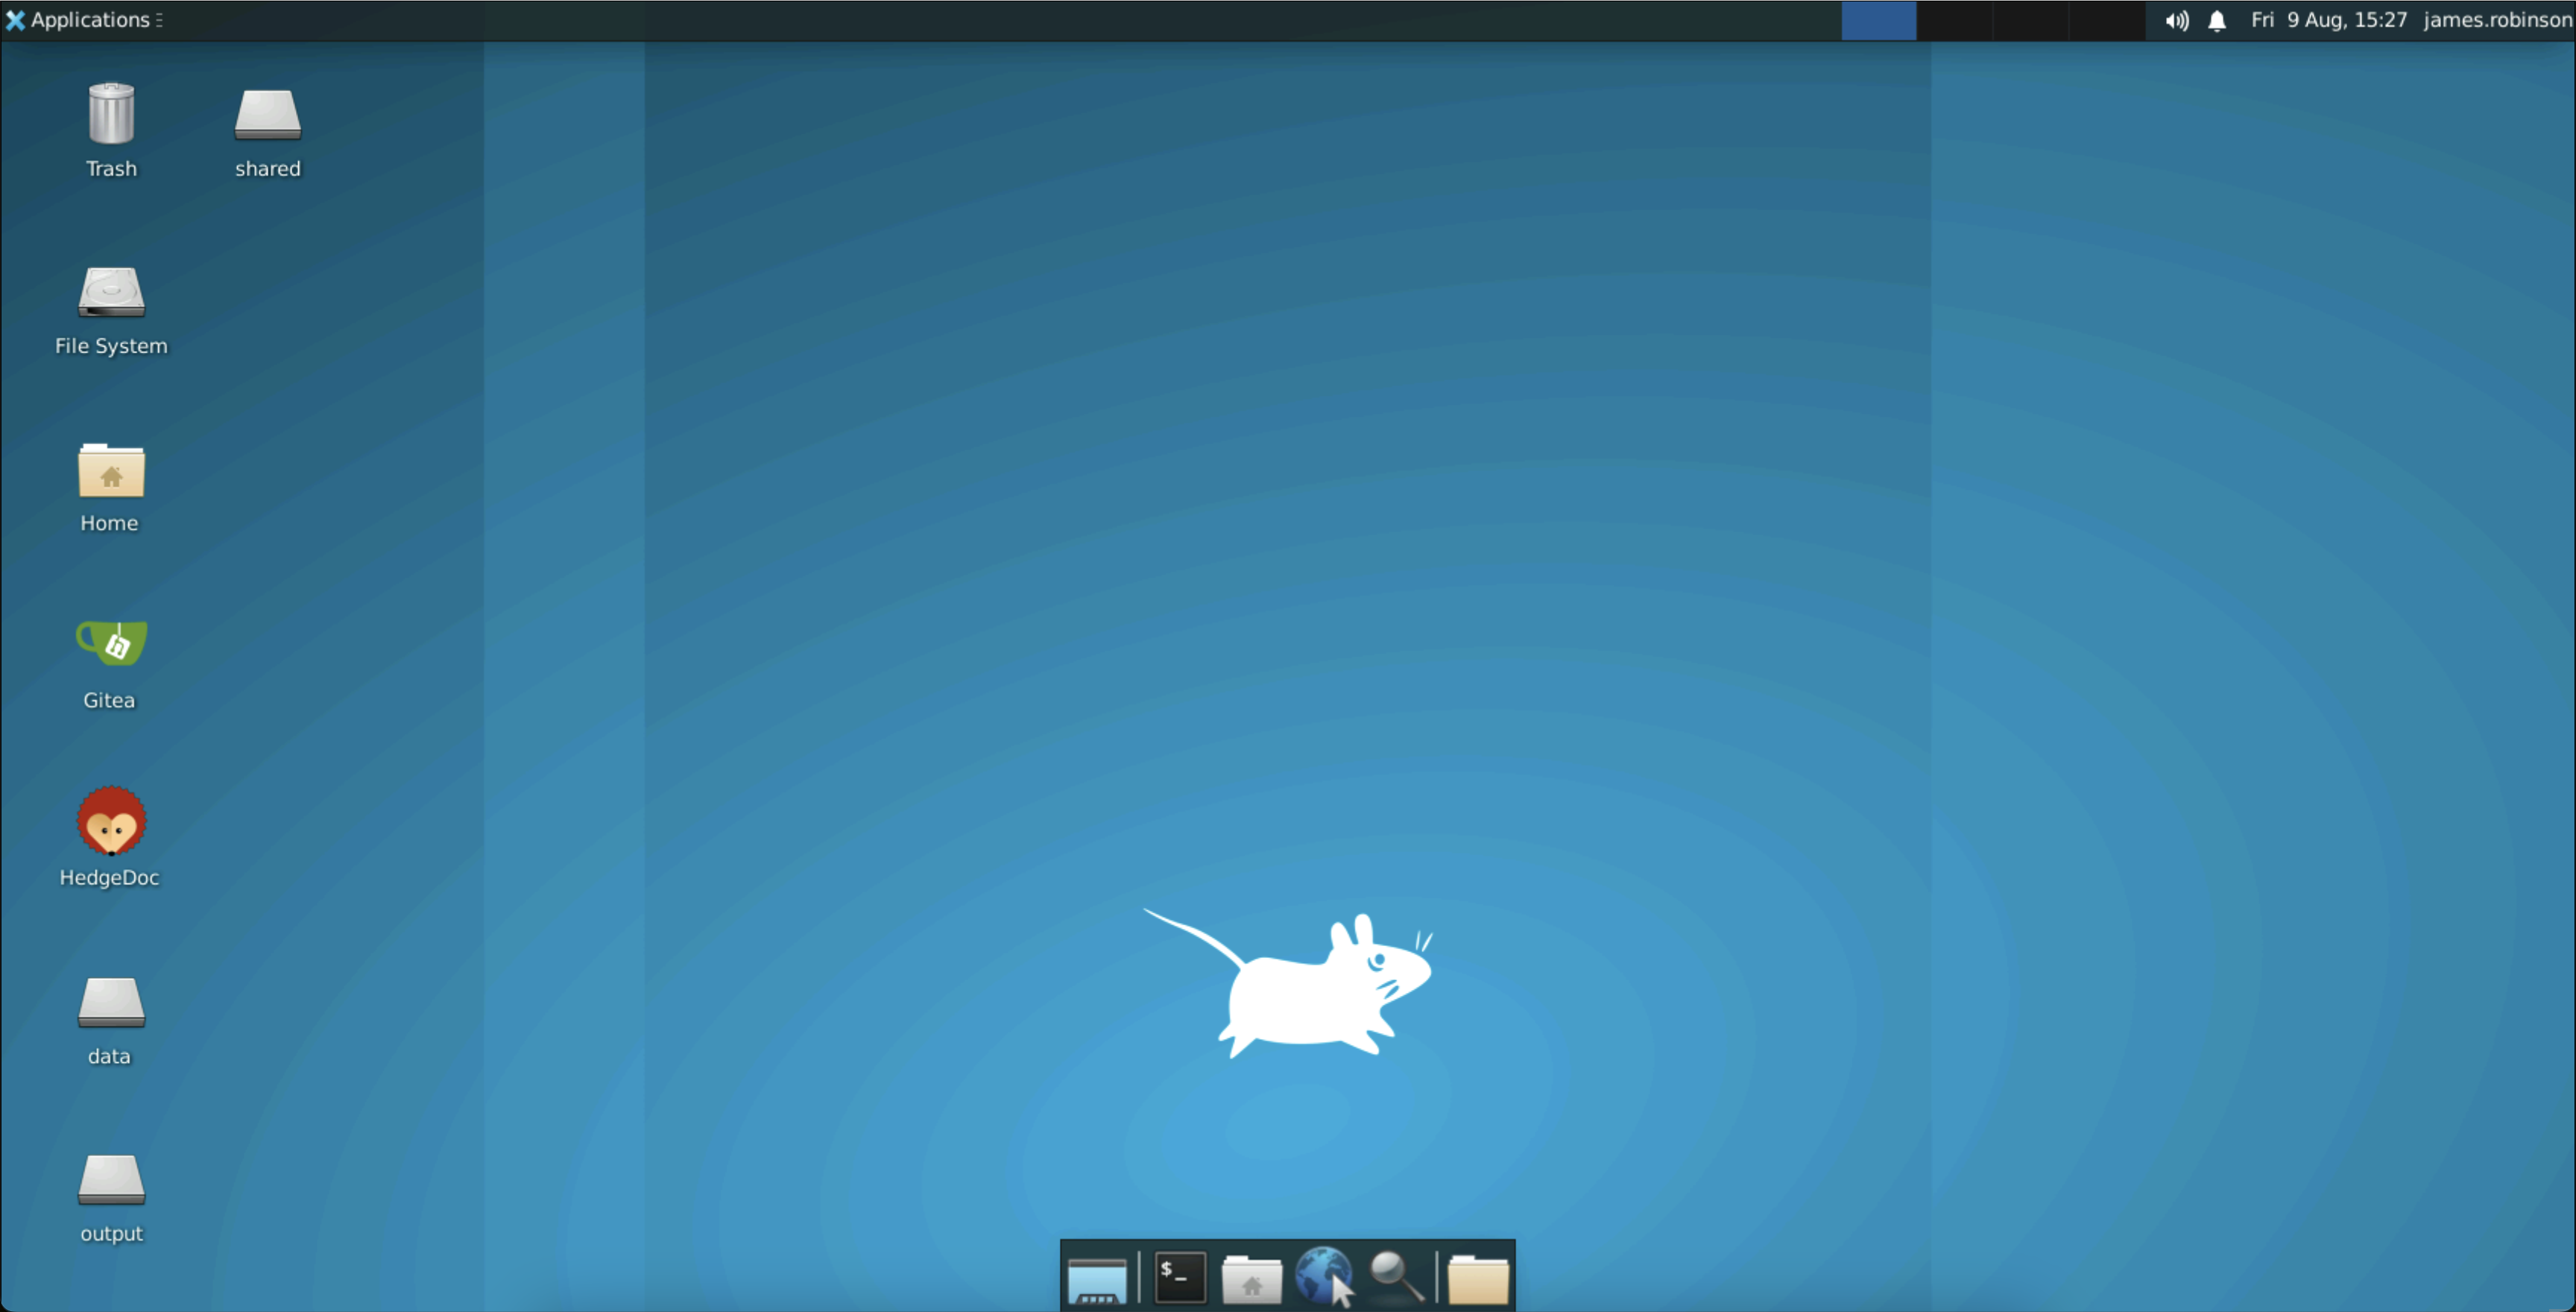
Welcome to the Data Safe Haven SRE! 👋
🔓 Access additional workspaces#
Your project might make use of further workspaces in addition to the main shared desktop. Usually this is because of a requirement for a different type of computing resource, such as access to one or more GPUs (graphics processing units).
You will access this machine in a similar way to the main shared desktop, by selecting a different Desktop connection.
Selecting a different workspace
Our example user, Ada Lovelace, participating in the sandbox project, might select Workspace 2 instead of Workspace 1 since it has additional CPUs and RAM.
This will bring her to the normal login screen, where she will use the short-form username ada.lovelace and her password as before.
Tip
When you are connected to a workspace, you may switch to another by bringing up the Guacamole menu with Ctrl+Alt+Shift and navigating to the home screen.
Tip
Any files in the /mnt/output/, /home/ or /mnt/shared folders on other workspaces will be available in this workspace too.